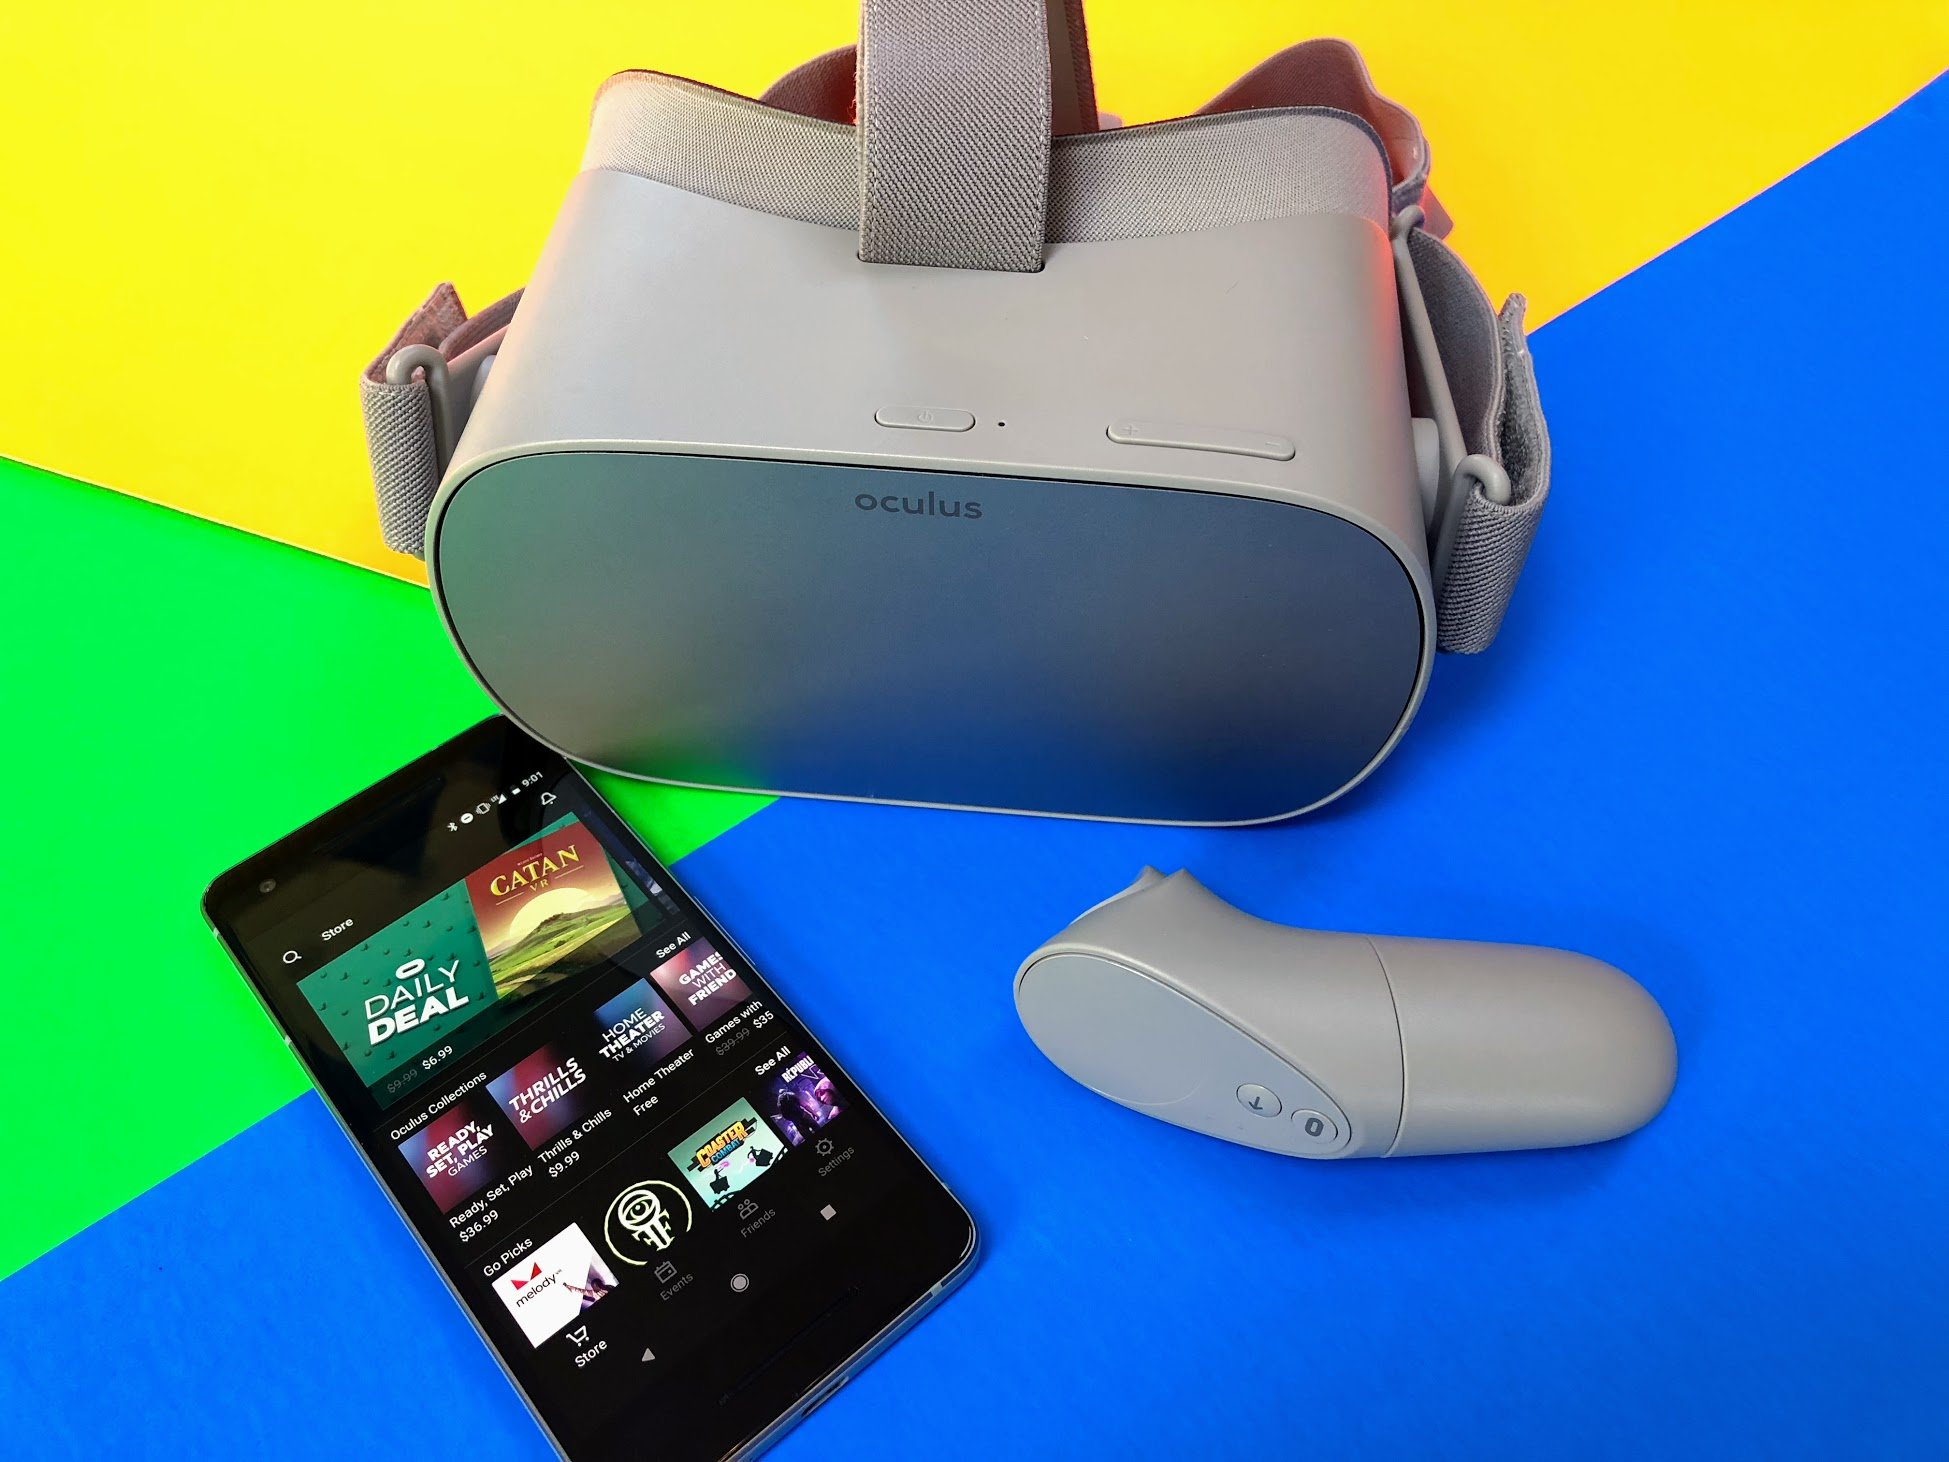
Do it right the first time, and you'll be much happier with your Oculus Go experience!
From the moment you take an Oculus Go out of the box, it invites you to immediately put it on your head and start having fun. And in theory, you could do exactly that. If you want the best possible experience from the headset, however, you'll take a few and configure it the right way.
Here's a quick look at how that works.
Don't have an Oculus Go? Check out your options!
Out of the box
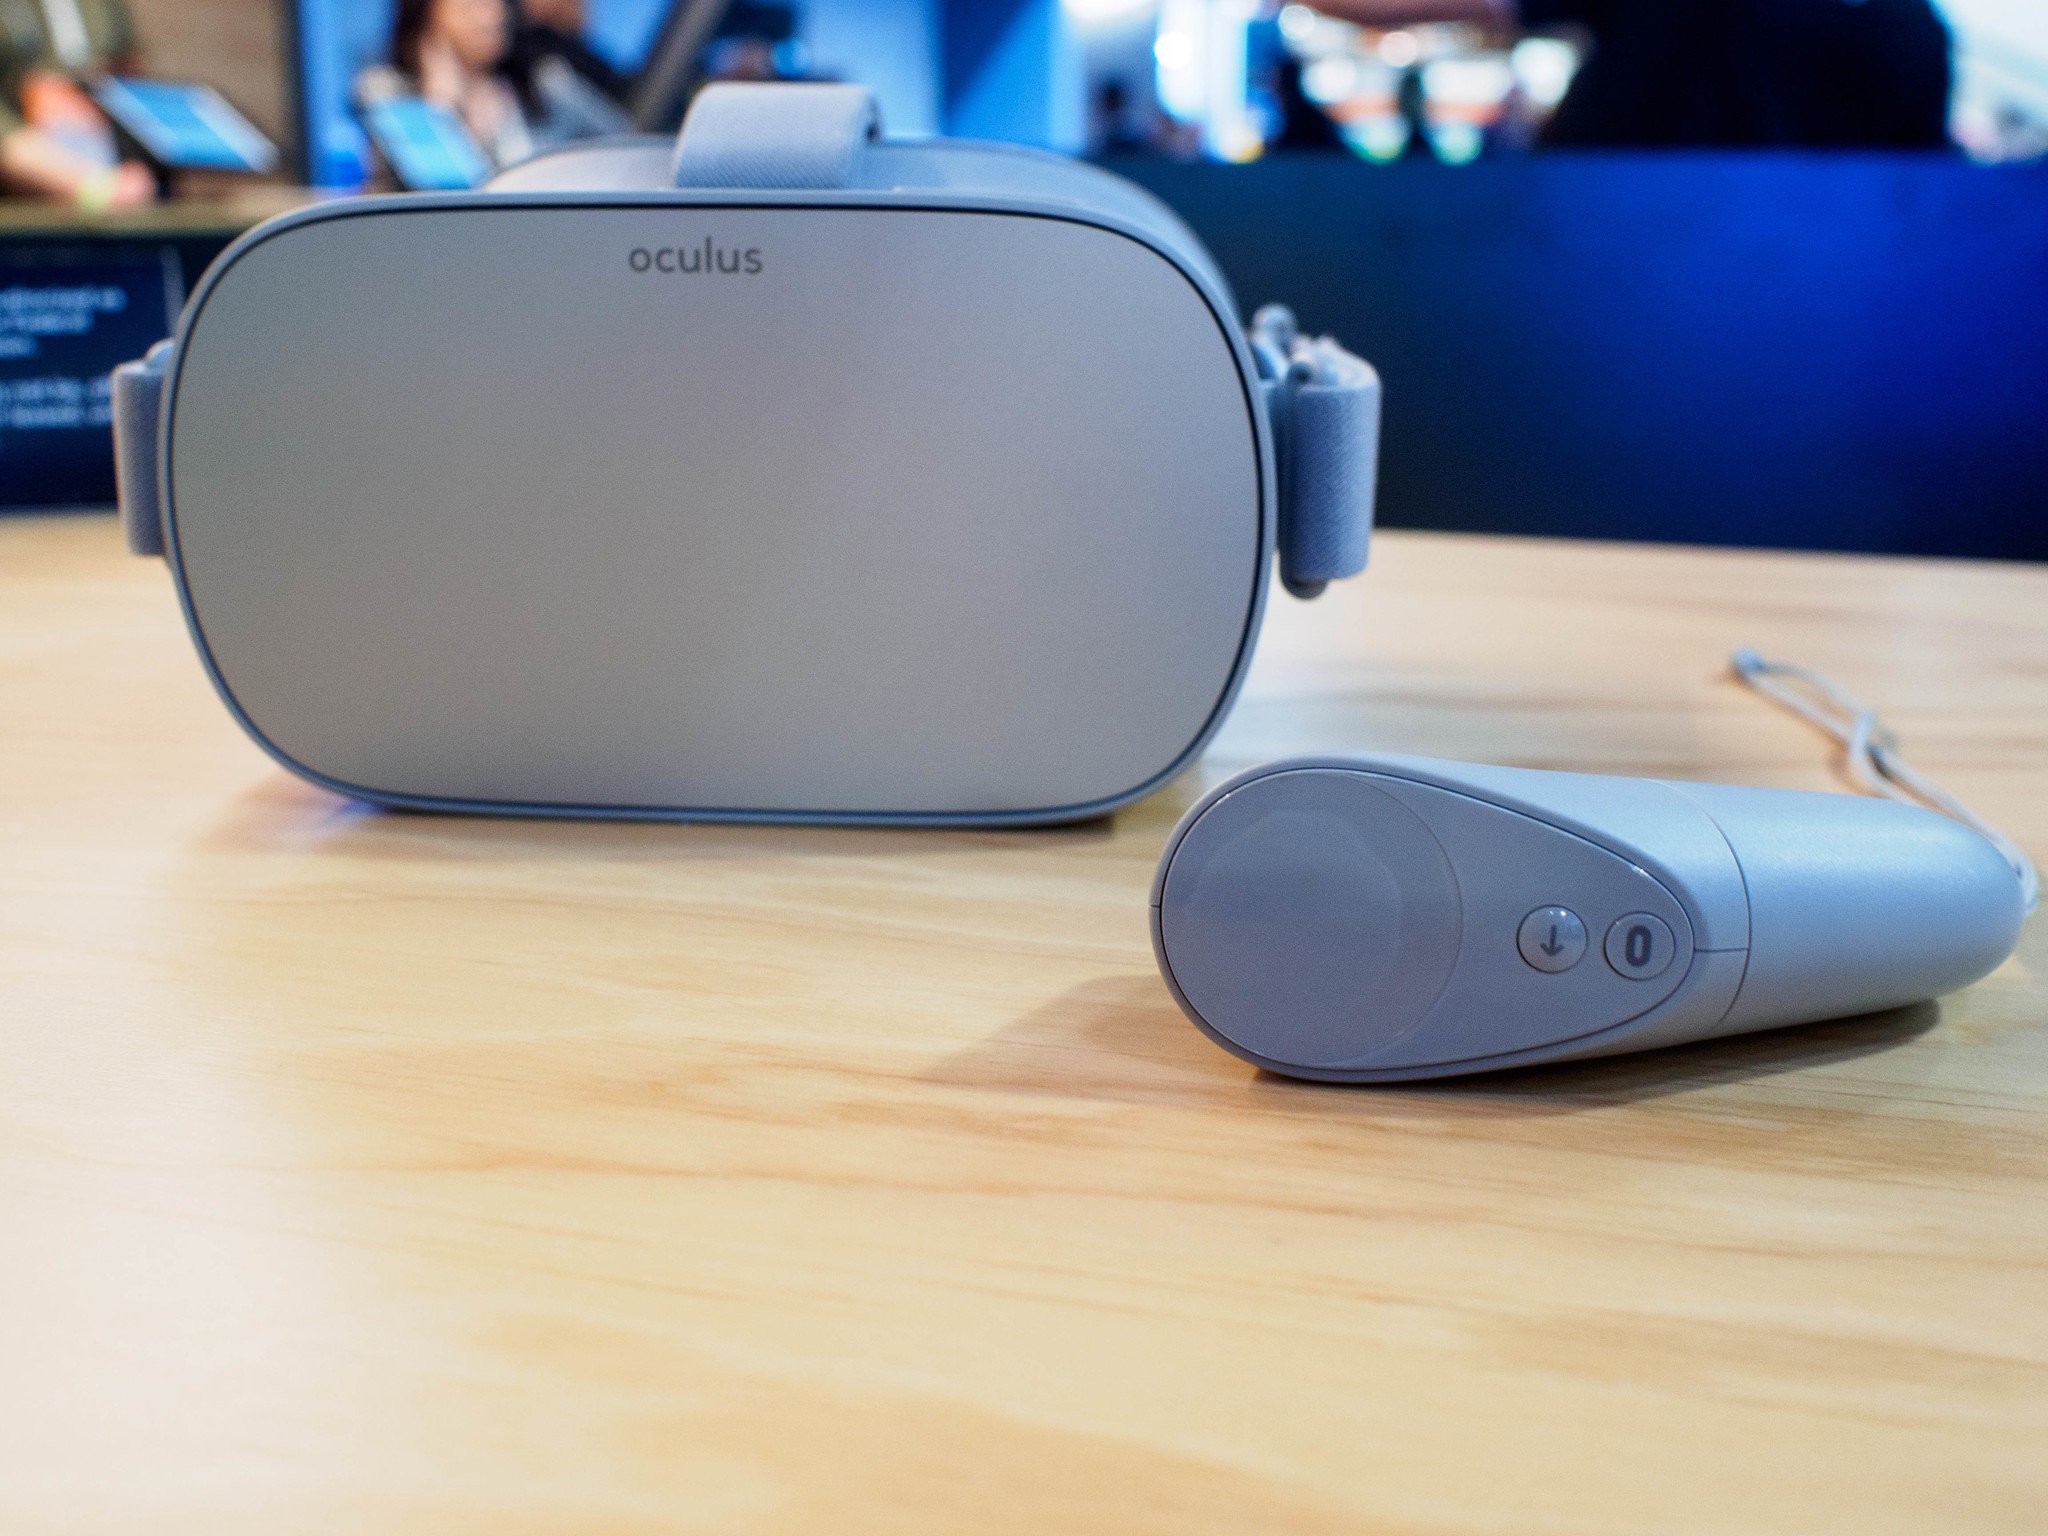
The first thing you need to do with your Oculus Go is take everything out of the box. Lifting the lid reveals the headset and controller right away, but there are a few things you need to do before powering this system up.
Remove the stickers
Your lenses are covered by a protective plastic coating, which needs to be removed or else everything will look blurry in the headset. There are also stickers on the body of the headset. Peel these stickers off, and you're good to go.
After this point, your lenses are exposed. Keep the lenses from direct sunlight in order to keep your display safe, and keep the lenses away from anything that could scratch the glass. You may consider keeping a microfiber cloth nearby in case you ever need to wipe a smudge from the headset in the future. Amazon has a few for $ if you don't have one handy.
Battery in the controller
Your Oculus Go controller runs on a single AA battery, which is included in the box. While you're putting the battery in, it's a perfect time to add the wrist strap as well.
- Pull down on the bottom half of the controller to remove the casing
- Insert the AA battery, so the flat part is pointed toward the trigger on the controller
- Fish the end of the wrist strap without the knot through the hole in the plastic casing and wrap the end around the hook on the bottom of the controller
- Push the plastic casing back into place on the controller
This controller has no lights to confirm it has power, so the only way you know for sure is through the Oculus Go headset once you put it on. This battery is expected to last through at least six months of constant use, so it should not need to be replaced frequently.
Fit Oculus Go to your head
Your VR headset has three adjustment straps to ensure a comfortable fit on your head. The two side straps connect across the back of your head, while the top strap slides into the back strap and can be adjusted separately. To get the best fit on this headset:
- Pull the velcro on all three straps until they are fully open
- Place the Oculus Go headset up to your eyes and pull the strap over your head
- Pull on both side velcro straps at the same time until snug, then press the straps against the side of the headset to secure them
- Pull on the top strap near the headset until you feel the bottom of the headset lift from your head just slightly, then press the velcro side down to secure
- Grab the headset with both hands and slowly move it until the image on the screen is clear
An ideal fit for this headset had the two parts of the back strap wrapped around the knot in the back of your head (it's called the occipital bone) while the top strap is tight between the front and back of the headset.
Setting up the software
To fully set up your Oculus Go, you need the Oculus app installed on your phone. It is available in the Google Play Store here if you haven't installed it already. Once you have the app installed, you will be walked through the process of setting up your Oculus Go.
If you've used the Gear VR in the past, you'll still have to download the app linked above. All of your purchases and download history are saved so you won't have to buy anything a second time.
Inside the app
Once you are in the app, Oculus will ask you to log in. There's a big Facebook button so you can log in with your Facebook account, but if you do not have a Facebook account or would prefer to use your existing Oculus account, you can find those options in much smaller text at the bottom of the login screen.
If you have chosen to log in with Facebook, or if your Oculus account has a Facebook account attached, you'll be asked to confirm your privacy settings inside of Oculus. This is a multi-step process, but it looks like there's only one button to say yes and move on. Actually, each one of the four sections above that blue button are separate privacy settings for you Oculus account.
This includes a Real Name Policy, how you can be discovered to add as a friend in Oculus, whether your friends can see what you are doing with your headset, and who can see your friends list. It is very important you take a look at each of these options and confirm they are set up the way you want before you press the blue Continue button.
Once your privacy settings have been confirmed, you'll be asked to turn on Bluetooth so your phone can find the headset. Make sure your headset is close to the phone, especially if there is more than one Oculus Go in the room at the time. Once the Oculus Go has been found, you need to plug the Oculus Go headset in and turn it on using the oval power button on the front of the headset.
Once you have confirmed whether you are left or right handed, you'll be shown a brief safety video on your phone and then invited to put the Oculus Go headset on for the first time.
Adding a payment method
If you're going to install apps, chances are you need to pay for them. Oculus lets you add a payment method from within the Oculus Go app, and then create a pin number for rapid checkout when making purchases. To add a card:
- Tap the Settings tab on the bottom of the Oculus Go app
- Swipe down and tap on Payment Methods when you find it
- Tap Add Payment Method
Once you have added a payment method, you will be asked to create a four-digit pin. This pin can be entered on the app or in the headset for making purchases, instead of entering in your credit card information.
Installing apps on Oculus Go
Your Oculus Go has access to basically ever app the Gear VR had access to, which is well over 1,000 apps. The Oculus Store is how you access those apps. You can access those apps from the store in the headset, or you can use the Oculus App on your phone. The purchase process for both is the same:
- Tap on the app you want to install
- Tap the blue purchase button to buy
- Confirm your purchase with your Oculus Pin
- Tap the blue Install button to send the app to your headset
If you have used Oculus apps before, either from a different Oculus Go on your account or a Samsung Gear VR, you can install your previous purchased only from inside the Oculus Go headset to find and install these games:
- Click on the Library tab from the bottom navigation
- Click on Not Installed from the Store navigation on the left
- Click the app you want from this list to start the download
And that's it! Your Oculus Go is now fully set up and ready for you to explore. Enjoy!
This article has been updated to clarify that you need to download the Oculus app even if you've already setup the Gear VR on your phone. Additionally, it has been updated with details on how to get started.
from Android Central - Android Forums, News, Reviews, Help and Android Wallpapers https://ift.tt/2FGOfHE
via IFTTT


No comments:
Post a Comment