Art can make anything beautiful, including your VR headsets!
Most of us love the sleek look of a plain gray headset, but some of us like a little more spark or a little more silliness. From custom art to safe stickers, I'm gonna show you how to make your Oculus Go one of a kind.
By the time you're done checking out all your options, your creative energy will be bursting at the seams to put it to good use and get rid of all of that gray! So without further ado, here's how to give your Oculus Go that one-of-a-kind look you've been dying for.
Not interested in giving it a paint job? There are other options!
Give your Oculus Go a custom paint job
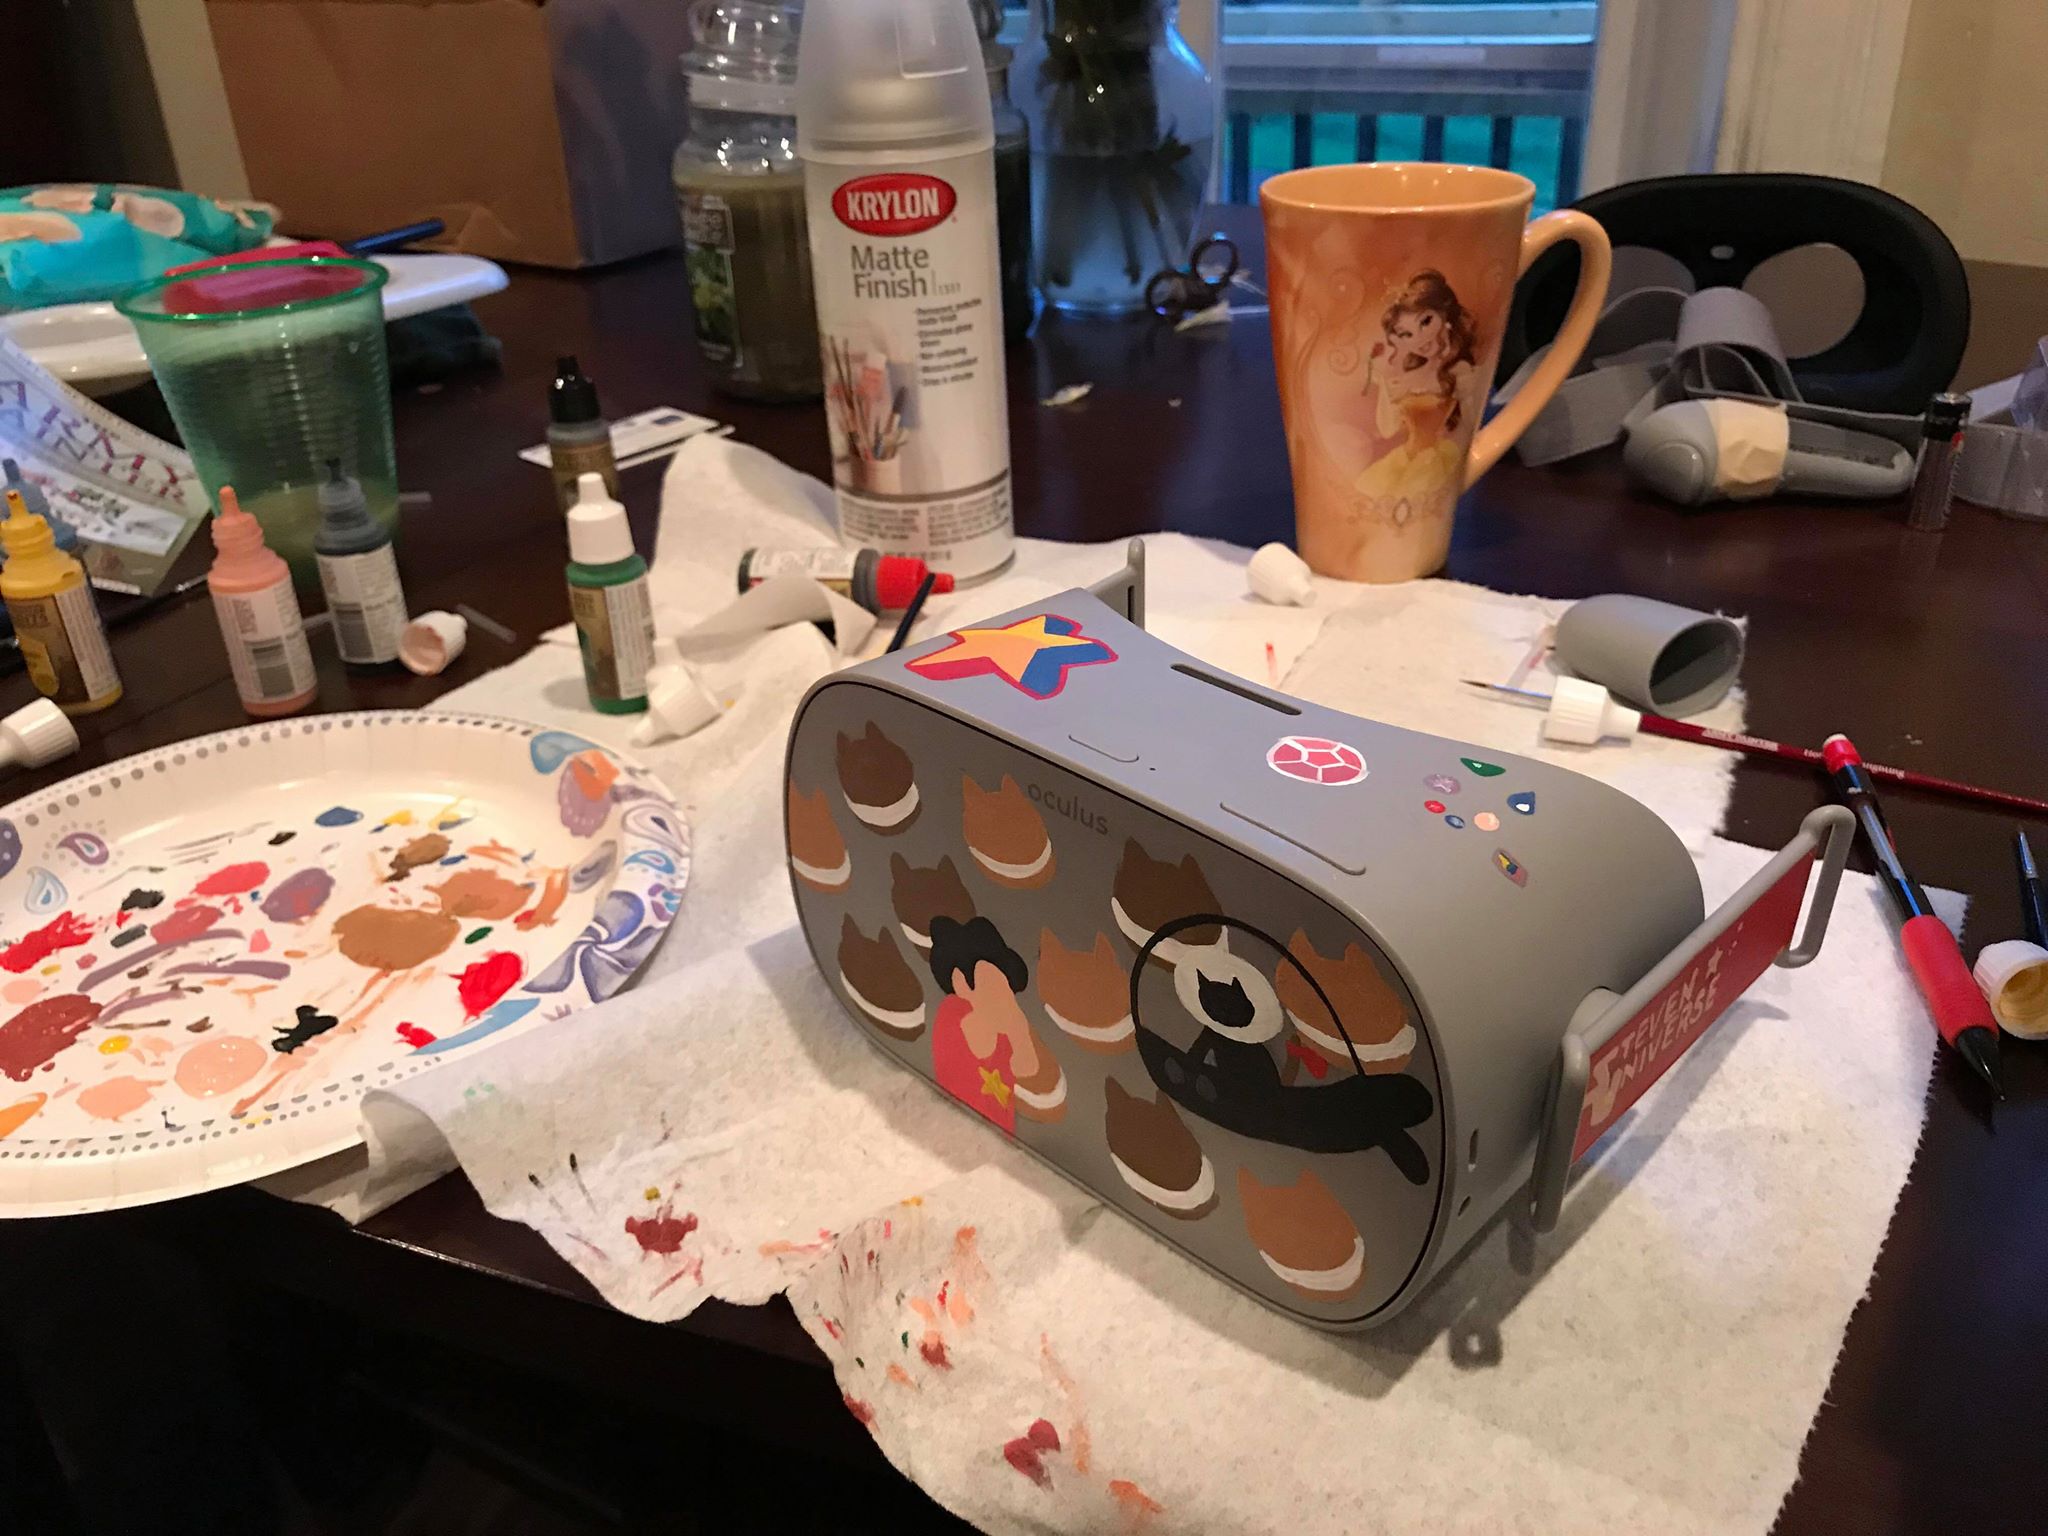
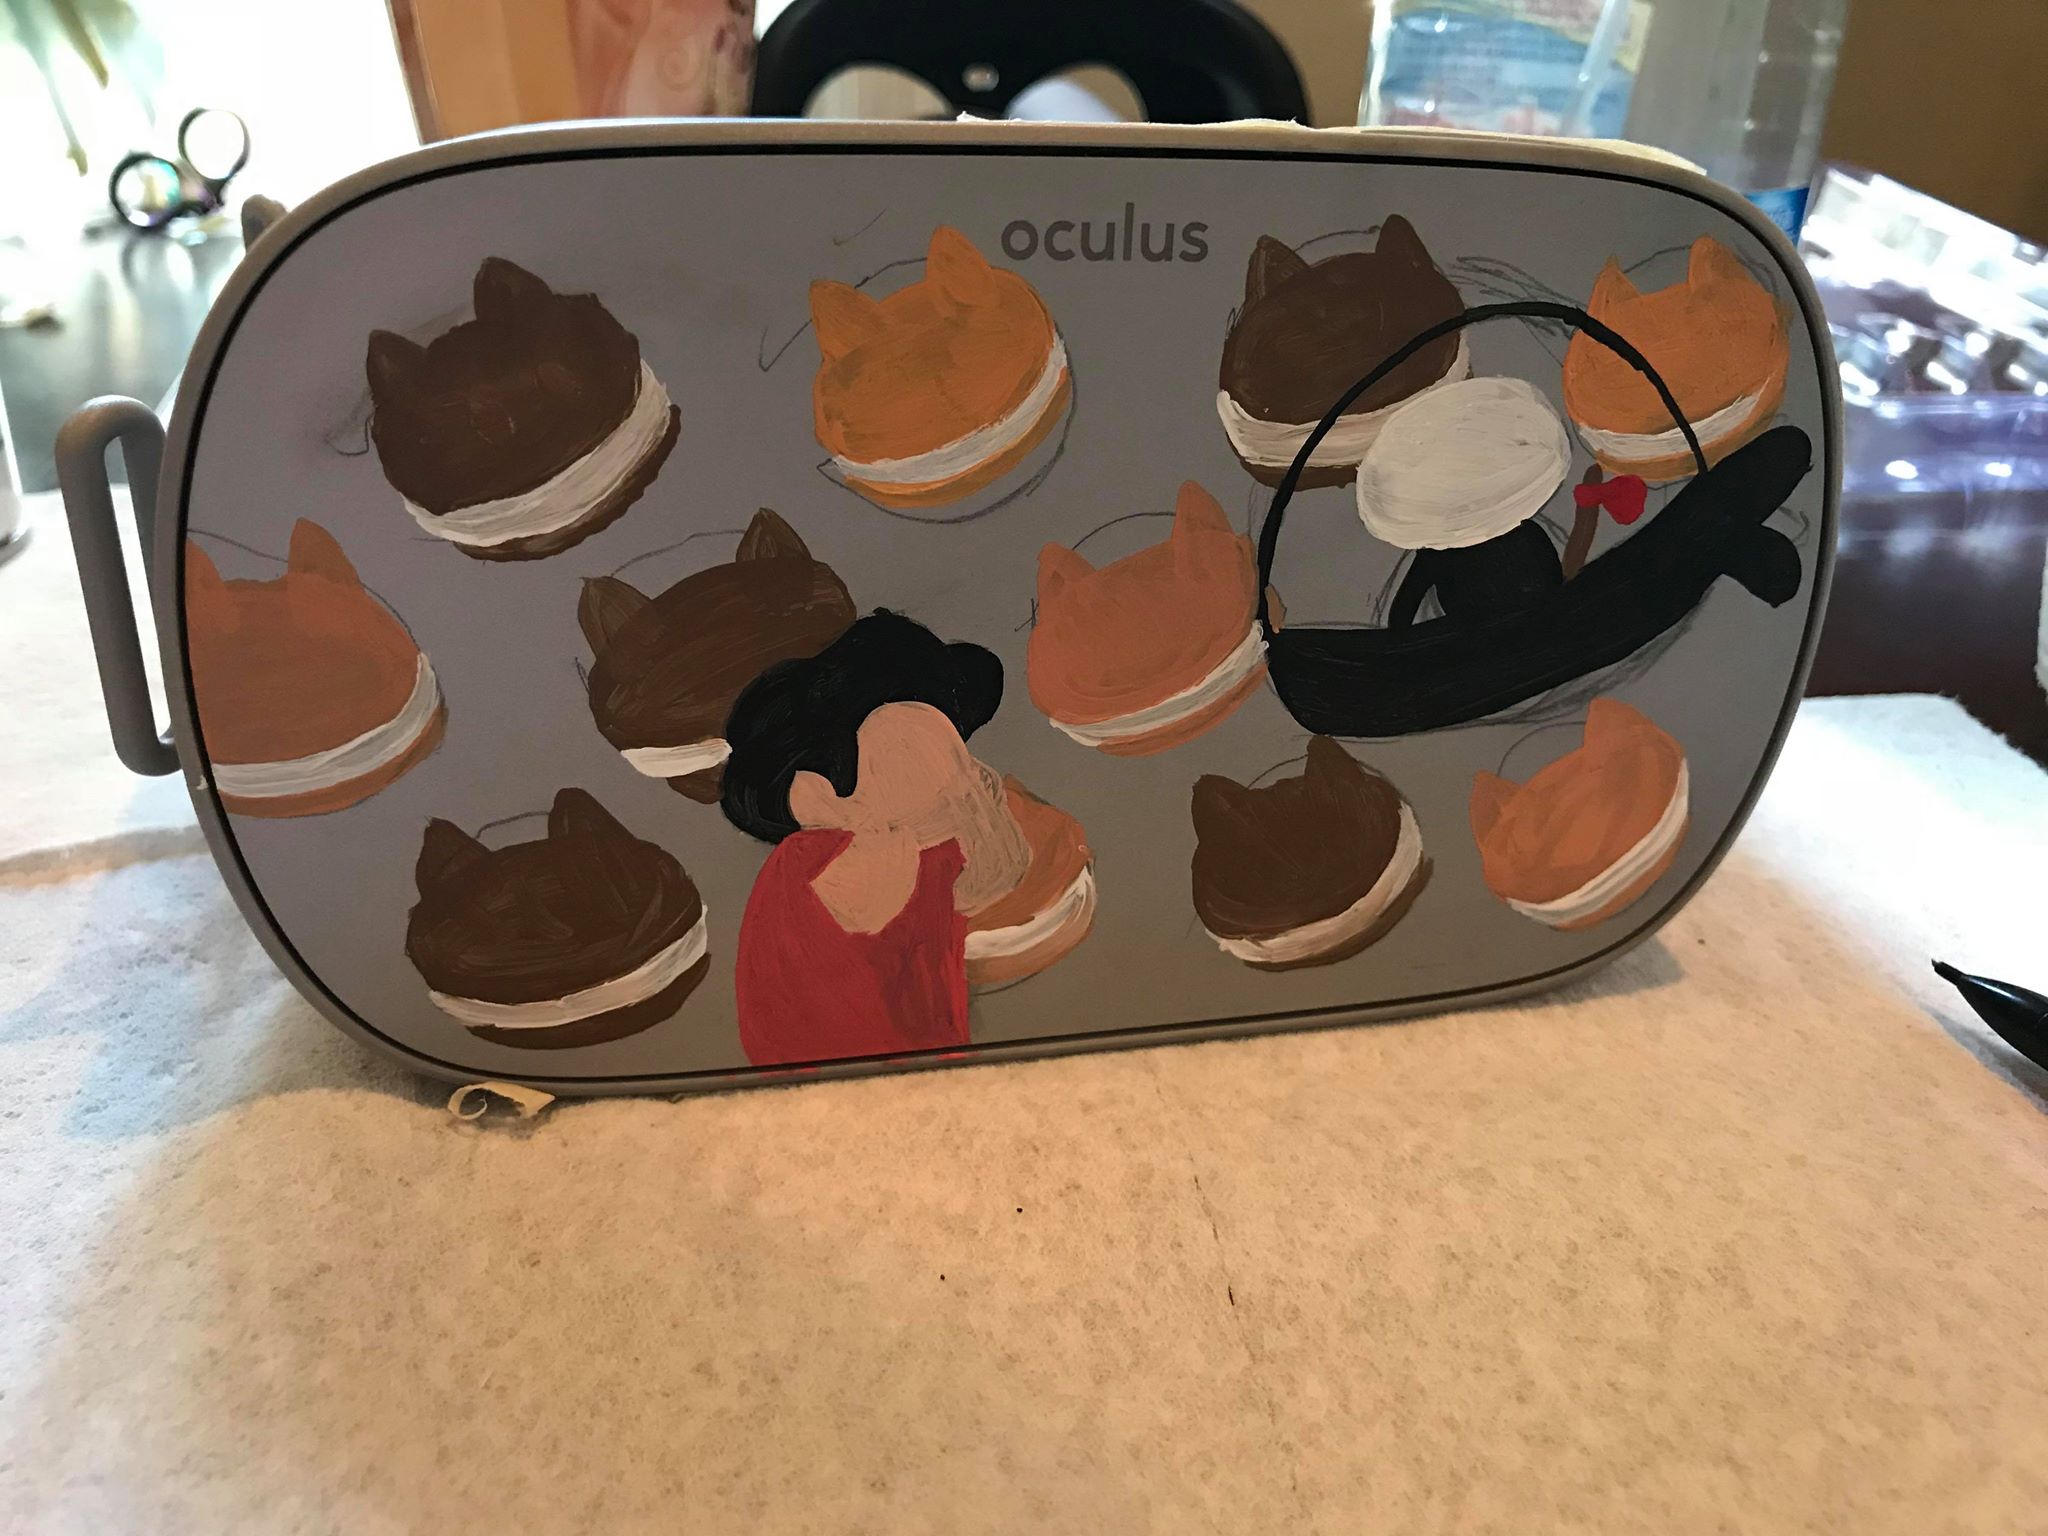
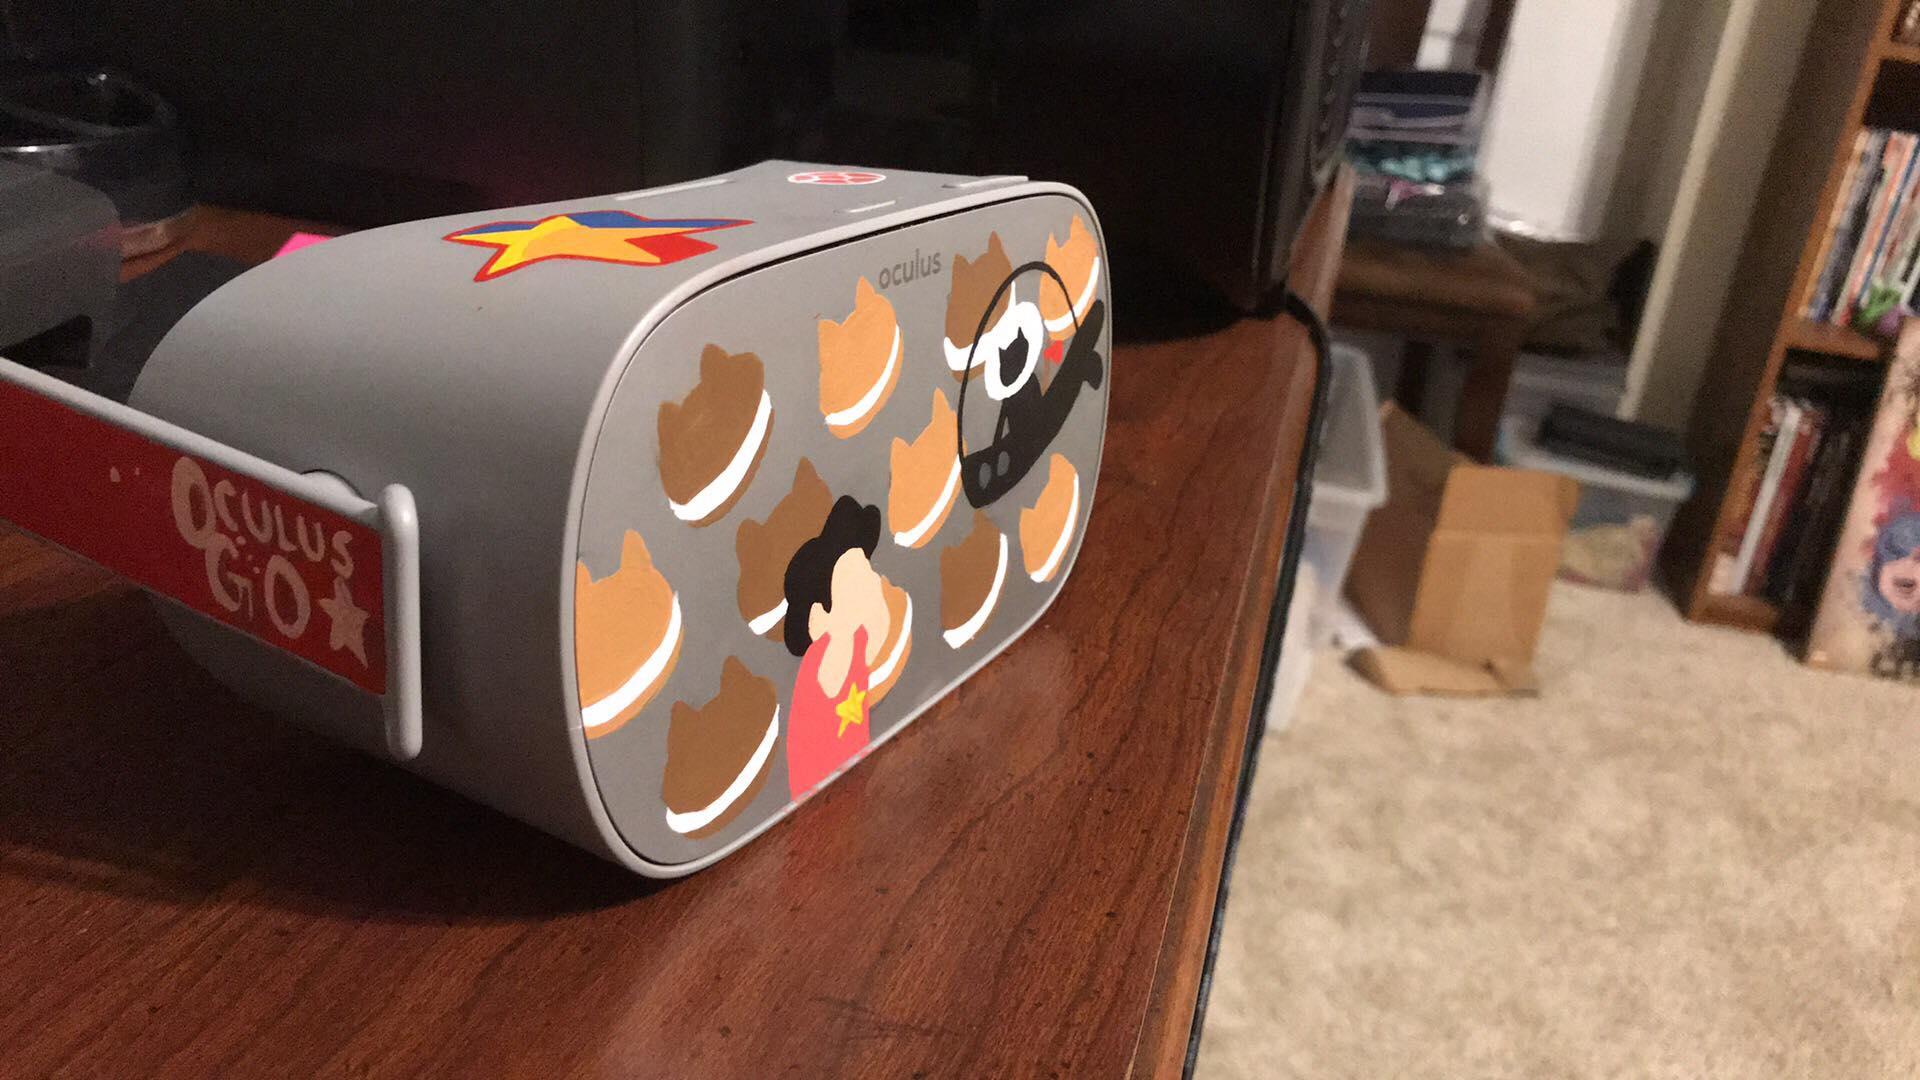
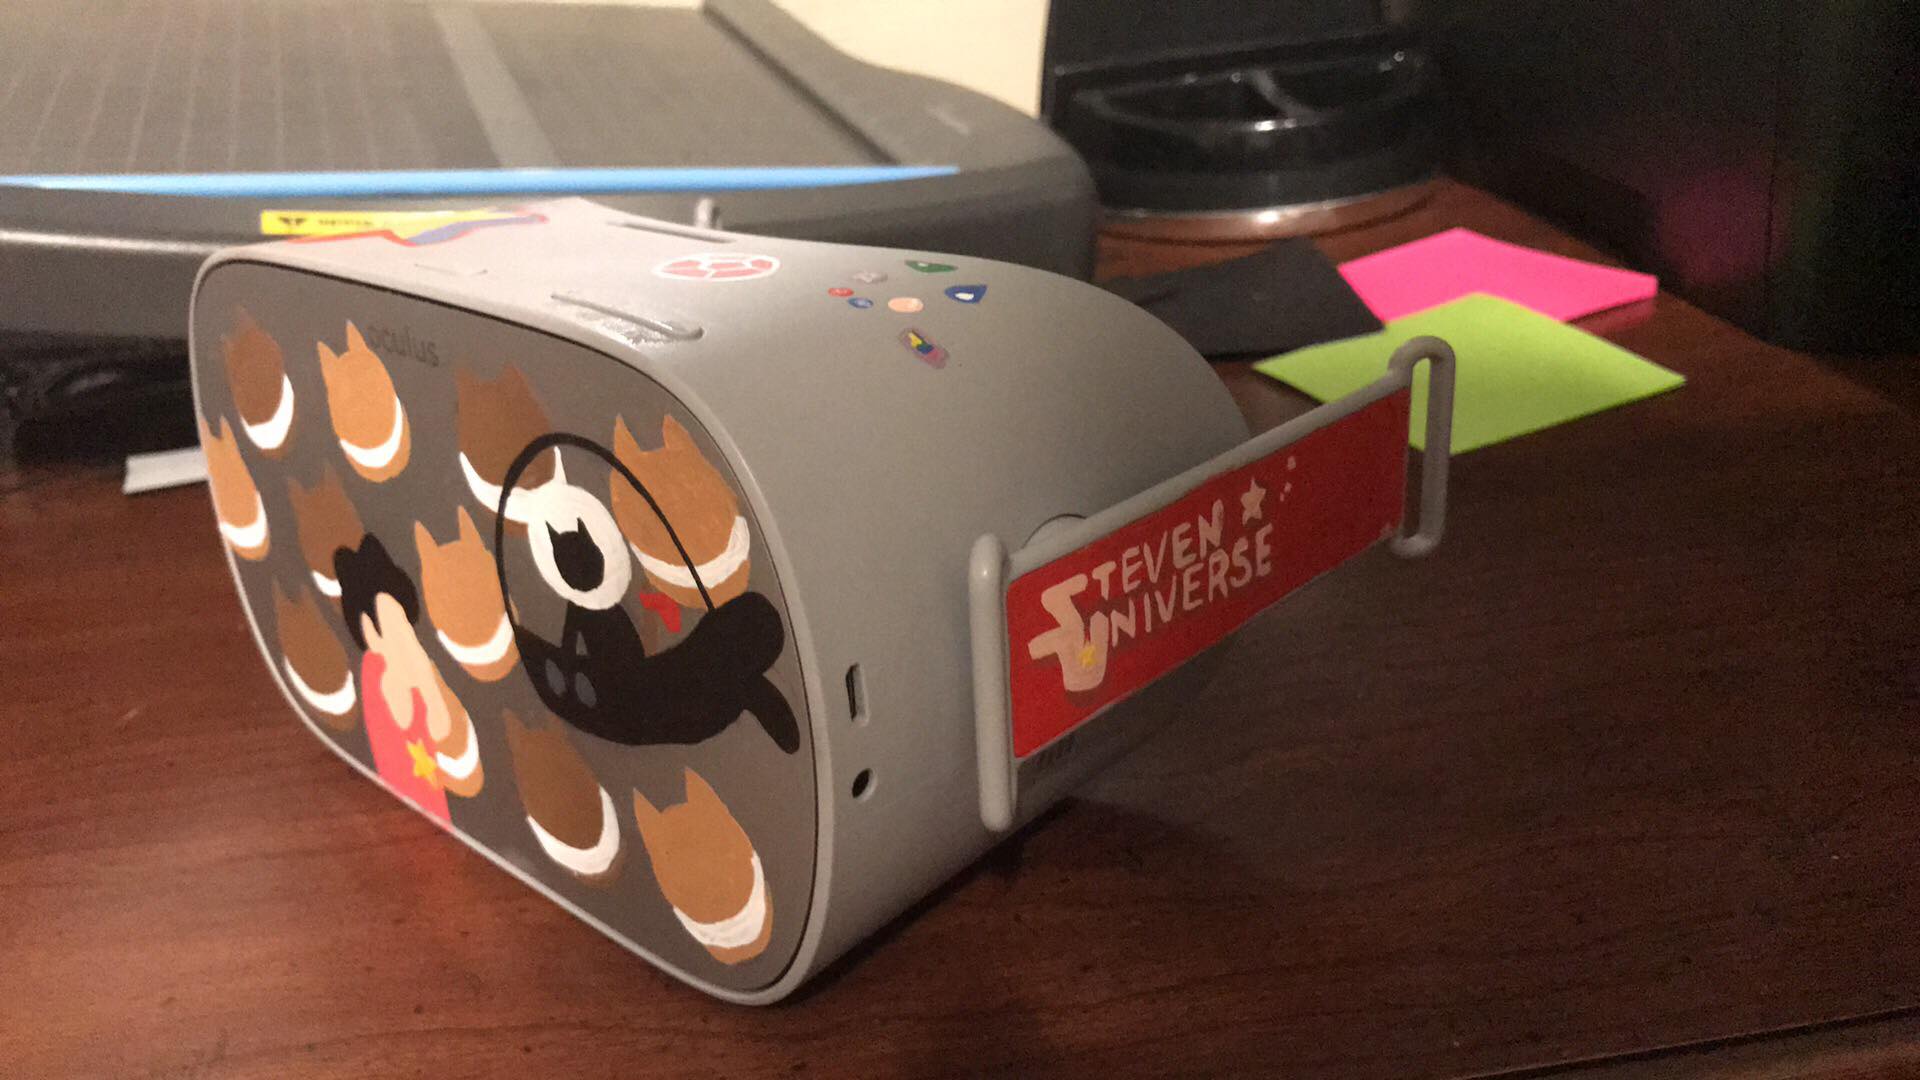
Of all the options that were available for customizing my headset, I personally decided to just go ahead and paint a design of my choosing on it. By no means am I a super artistic person, but I like to think I can get the job done if I need to.
If you're worried about not having a steady hand or you've never drawn more than a couple of stick figures, don't worry. You can always print out a stencil to make the whole process go that much smoother.
Usually, when people give custom art to their tech (like with controllers or Game Boy) they'll use spray paint. That is not an option in this case. It's only safe to use in those circumstances because you can actually it apart and put it back together. You can't take the frame of the Oculus Go off, so using spray paint only risks getting paint into all the tiny holes and crevices.
Alchohol based ink paint
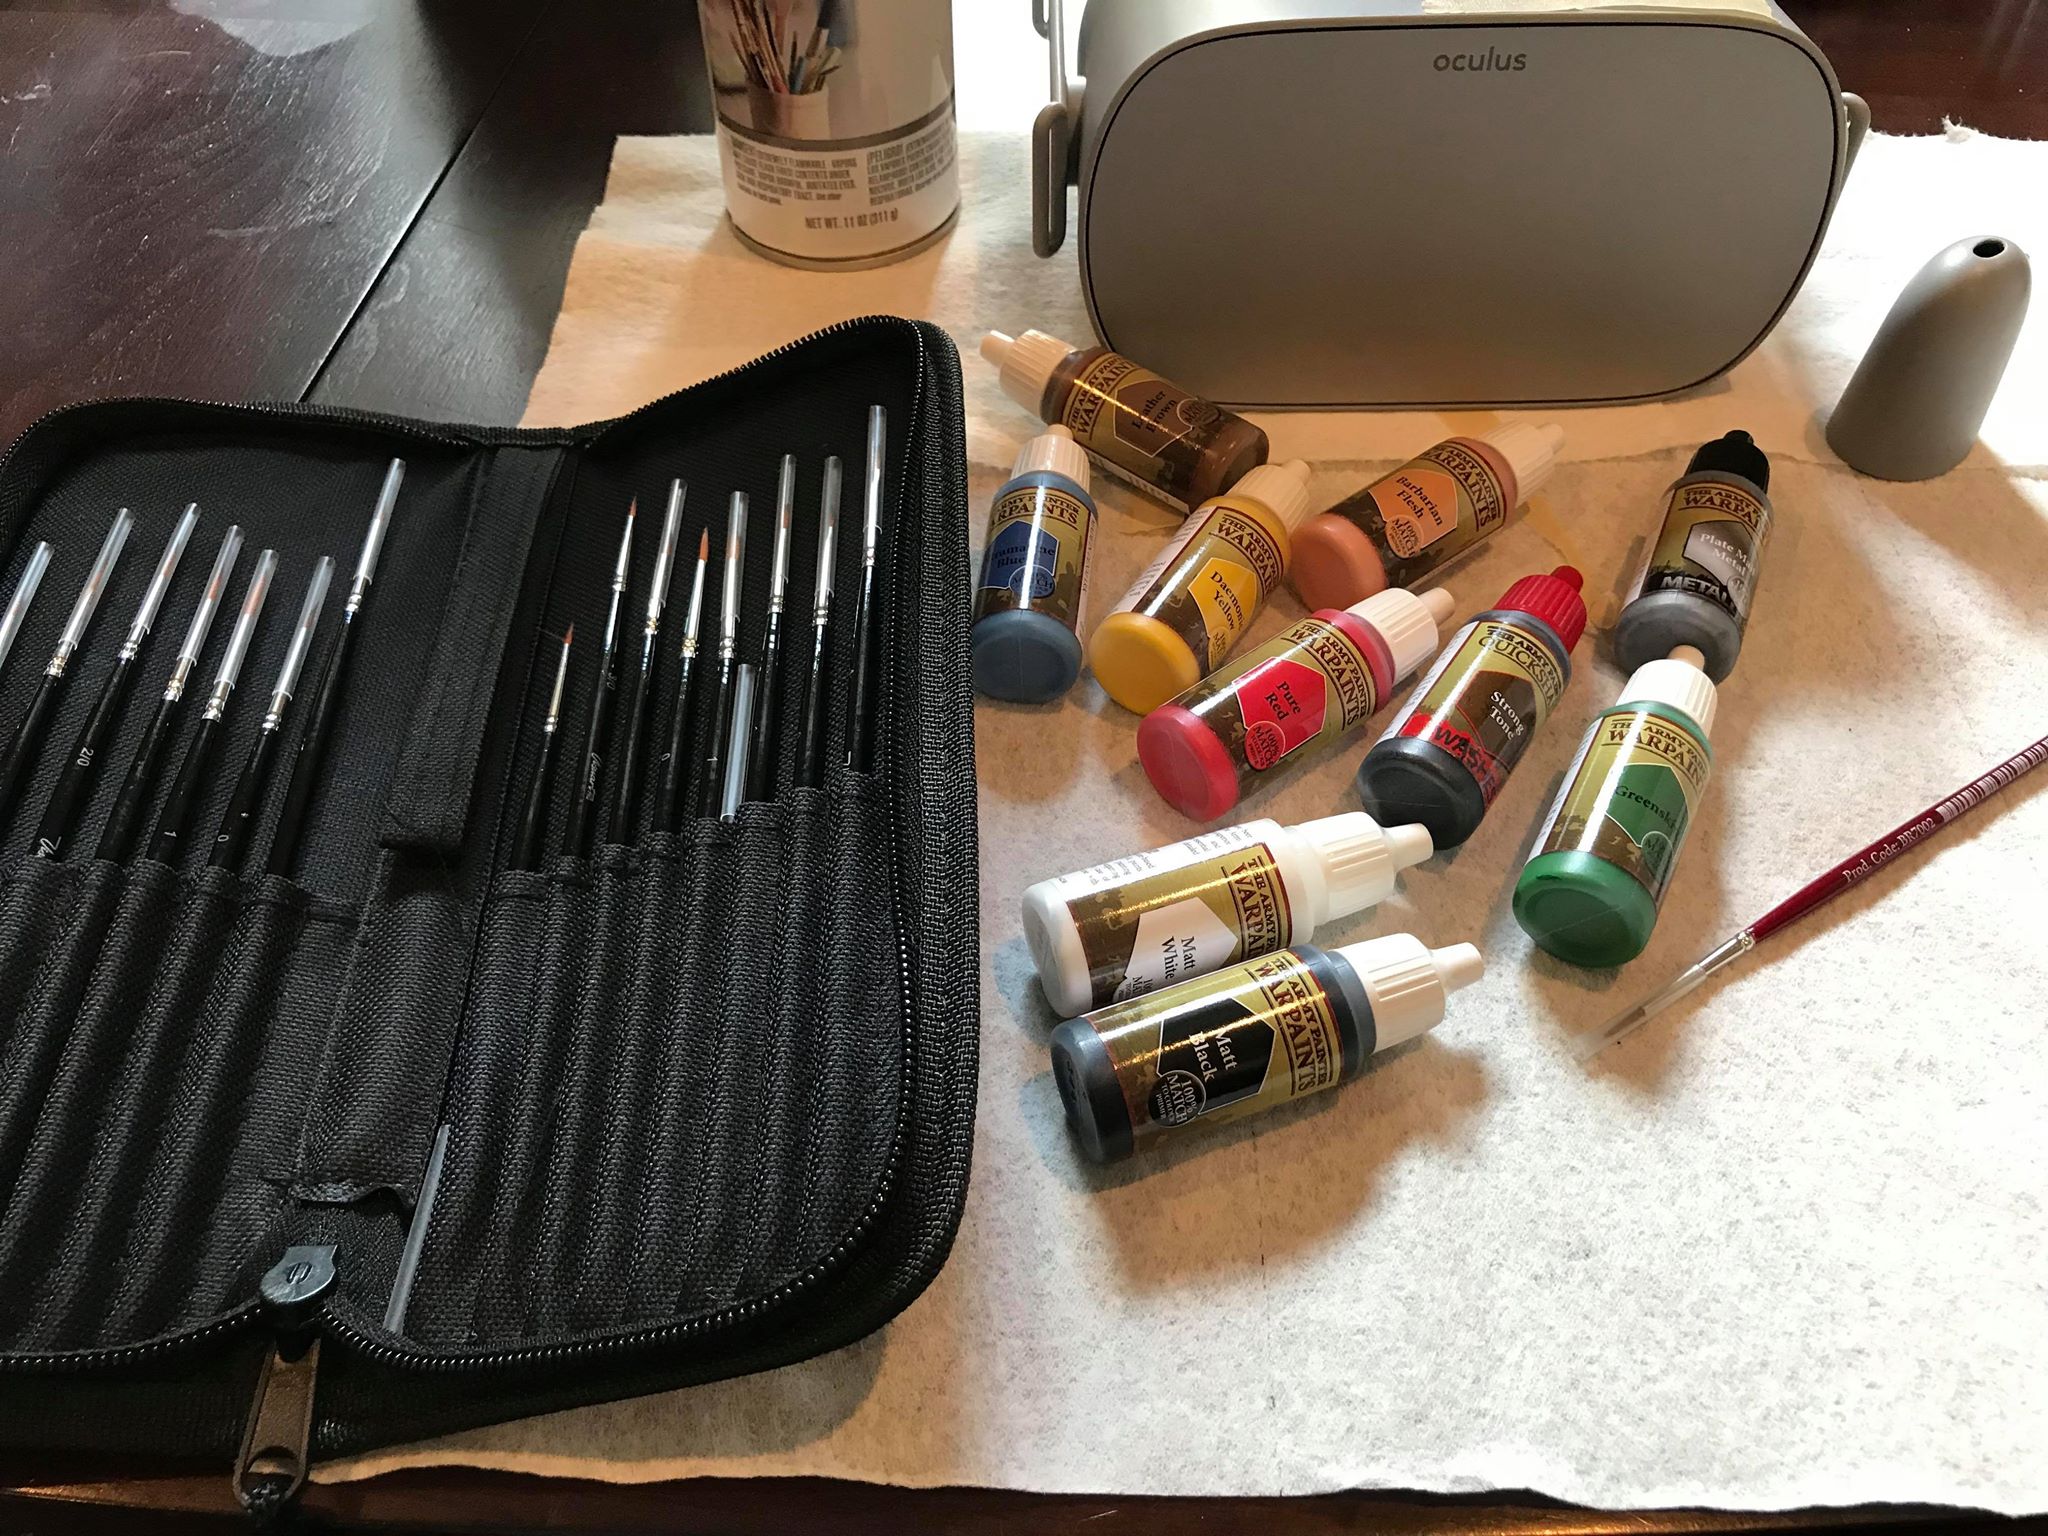
When I say, "Give your Oculus Go a custom paint job," what I really mean is, "Give your Oculus Go a custom ink job." You want to use the same ink paint that is used to paint model cars or miniatures for DND.
If you're still apprehensive I can personally attest that I use my Oculus Go almost 2-3 hours at a time, even after the paint, and have experienced no issues. You can find it on Amazon for $14.20.
What you'll need
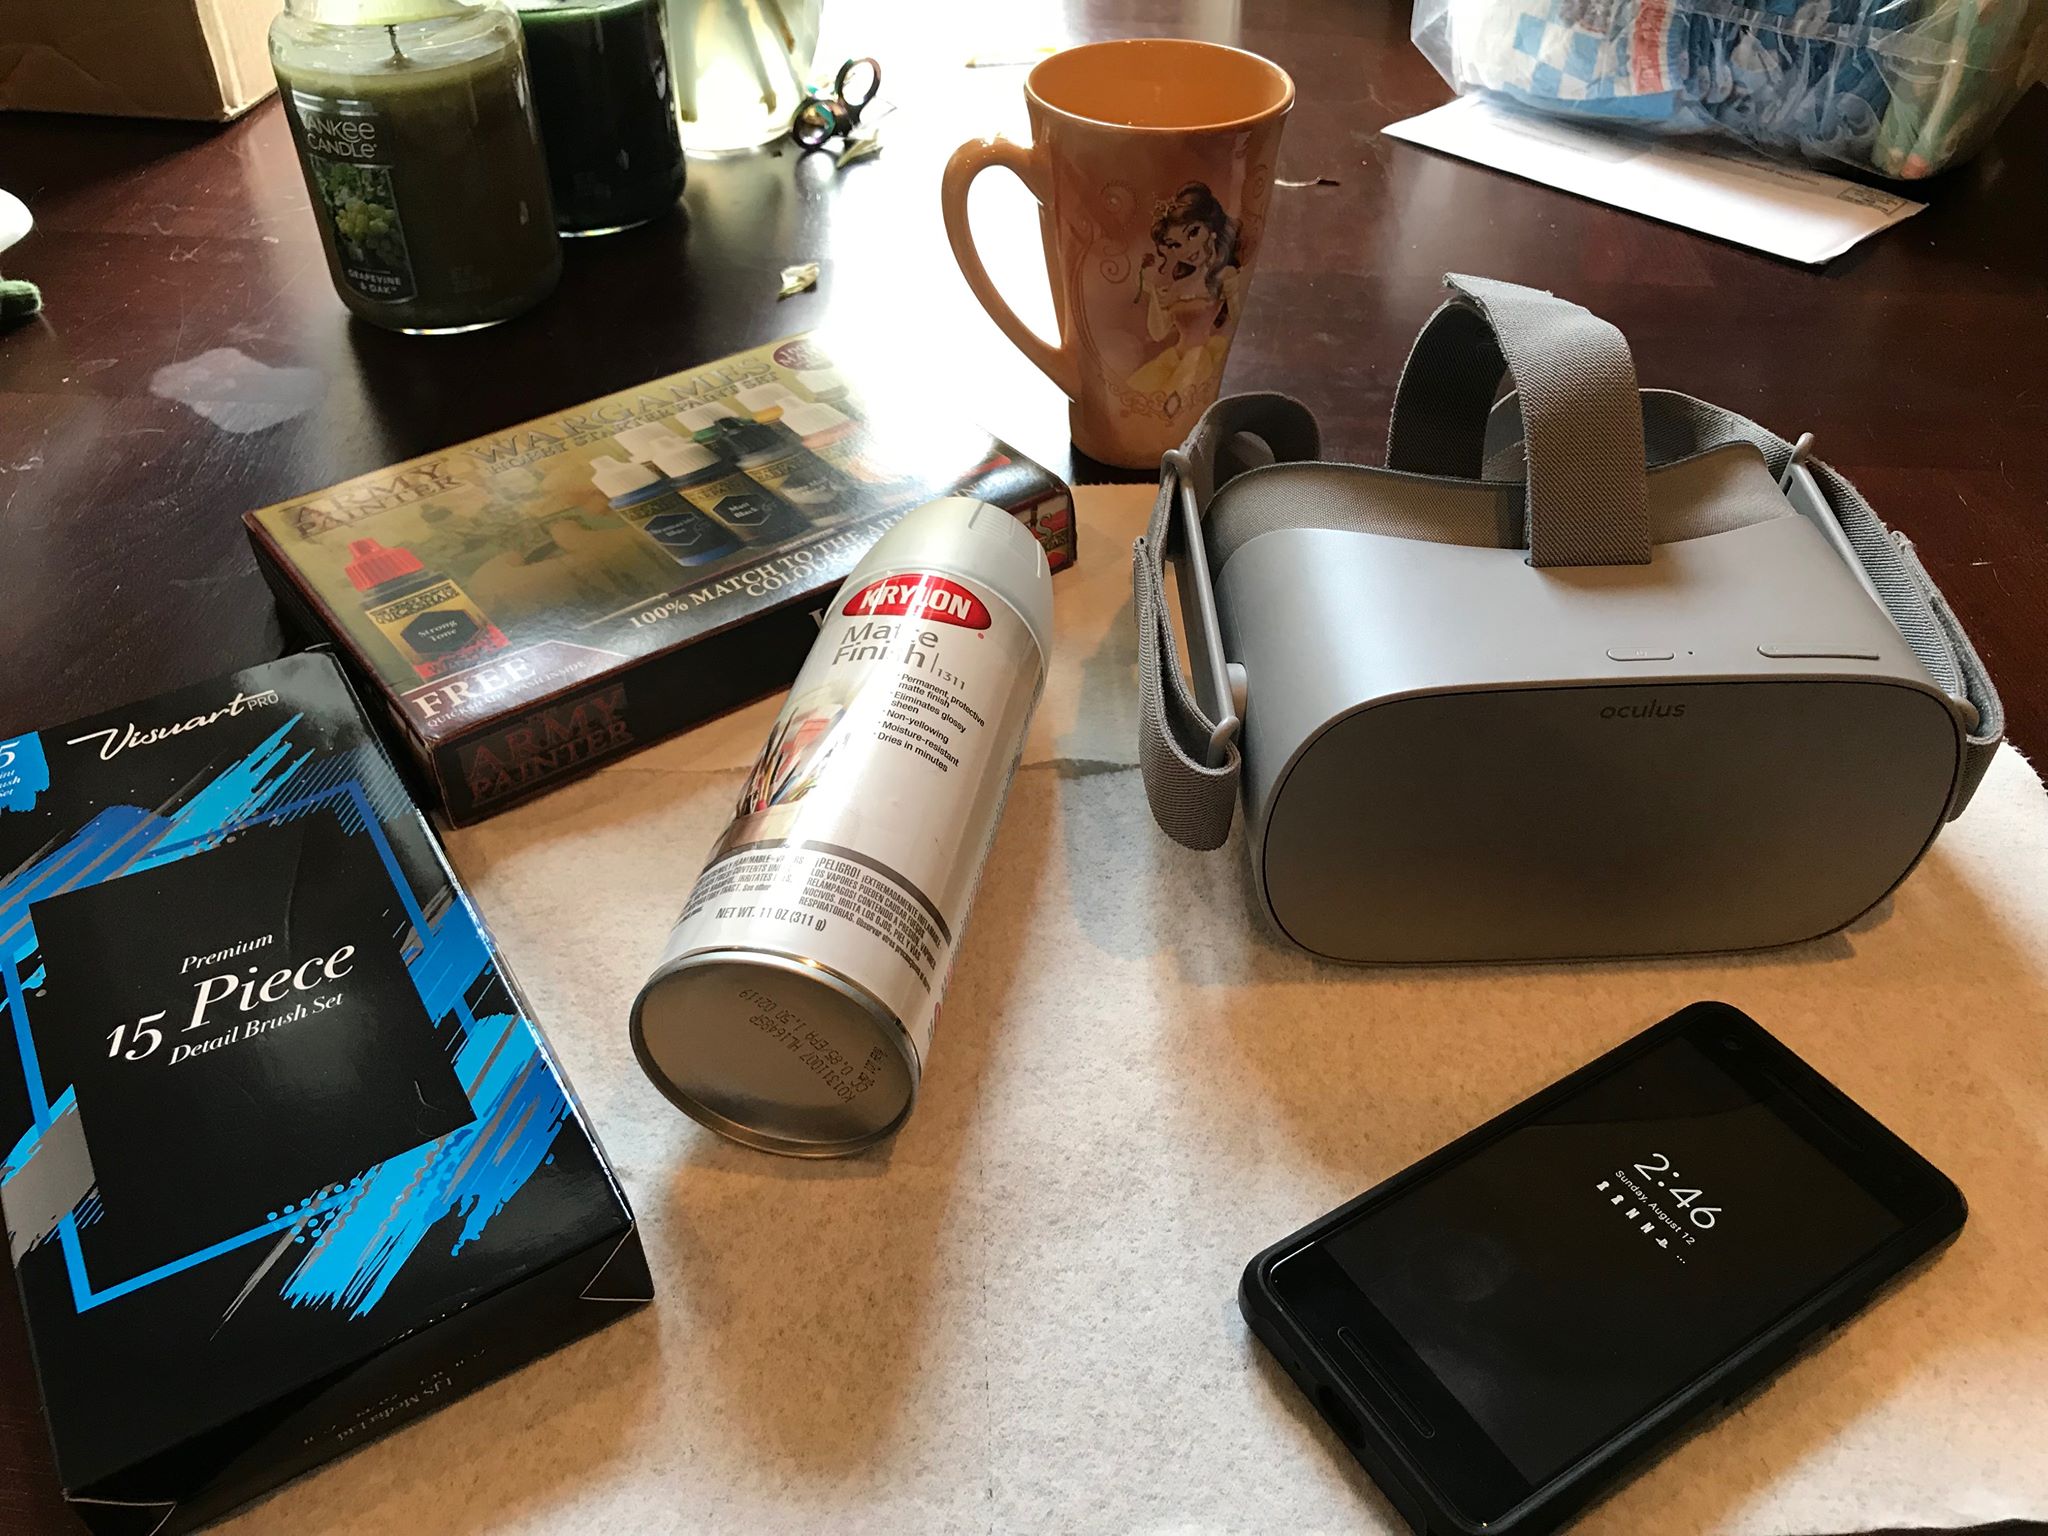
You'll probably find most of what you need in your house already. This includes things like a pencil, a paper plate, a plastic cup, rubbing alcohol, some paper towels and a good source of light.
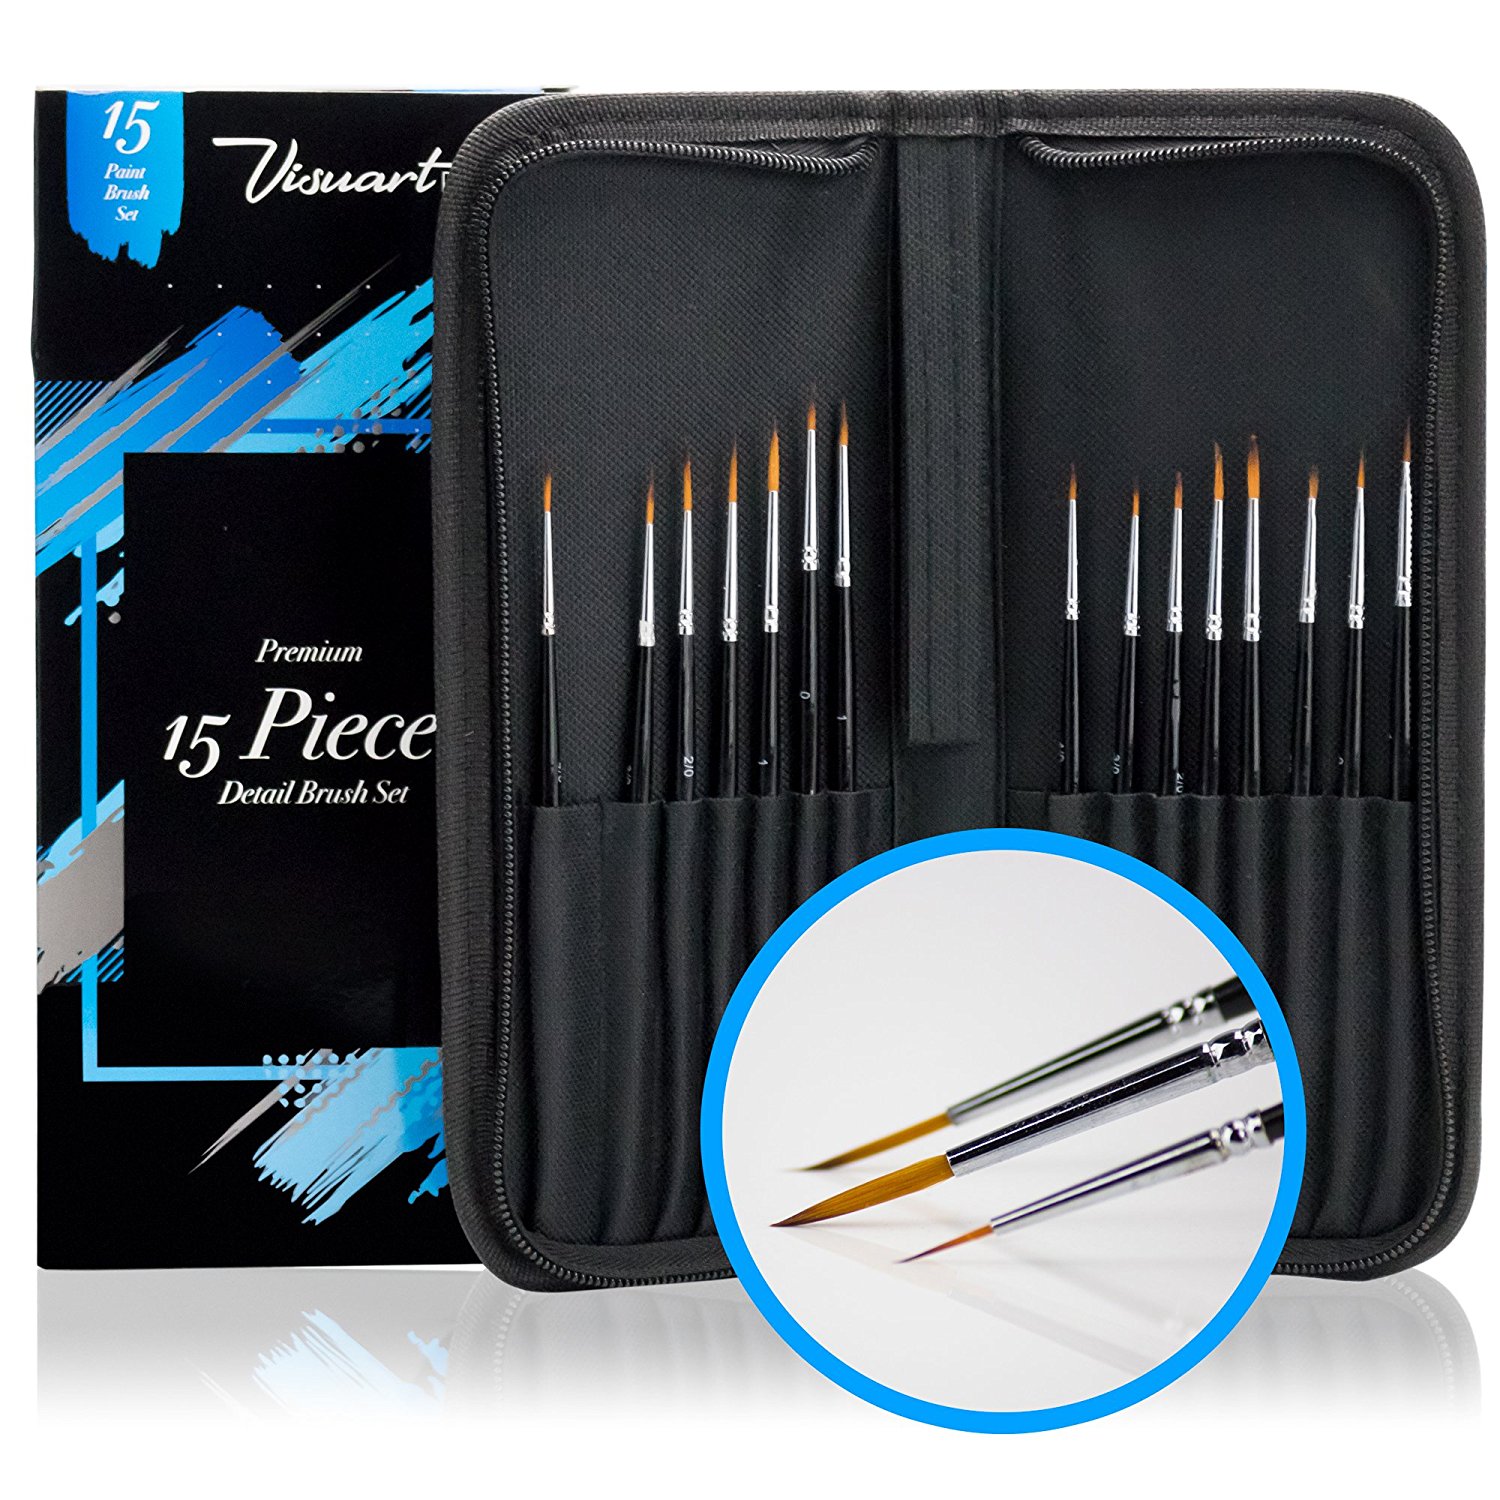
The rest of what you'll need are some fine point paint brushes, solvent-based enamel paint, and blue painters tape. If you don't have painters tape (and don't want to order any) I used masking tape and got away with it just fine.
Fine point brushes
You're going to be painting on a much smaller surface than what you normally have on a canvas. For better detailing on the small pieces, you'll want to make sure you have a few fine-point brushes laying around. You can get a set of 15 off Amazon for $10.97.
Cover all of the important bits
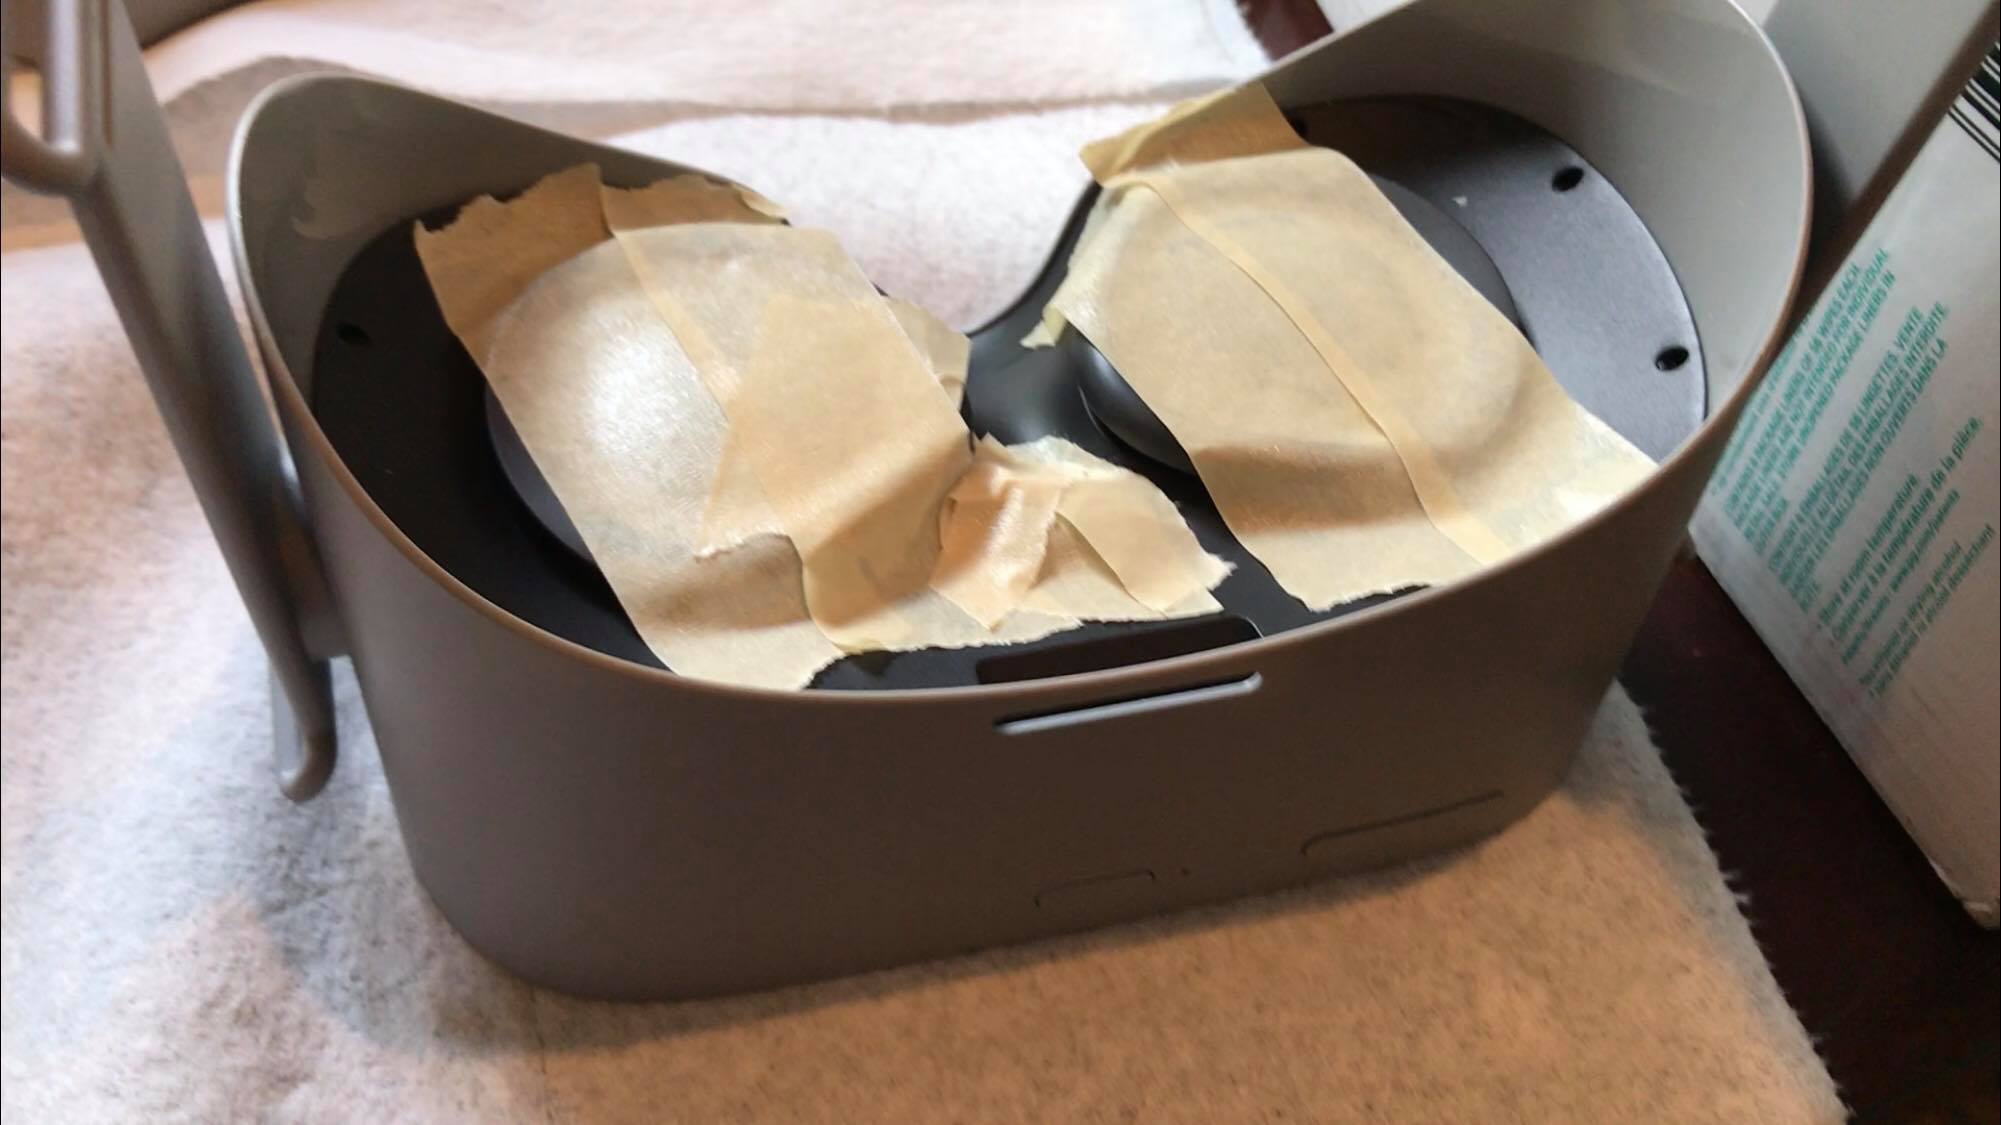
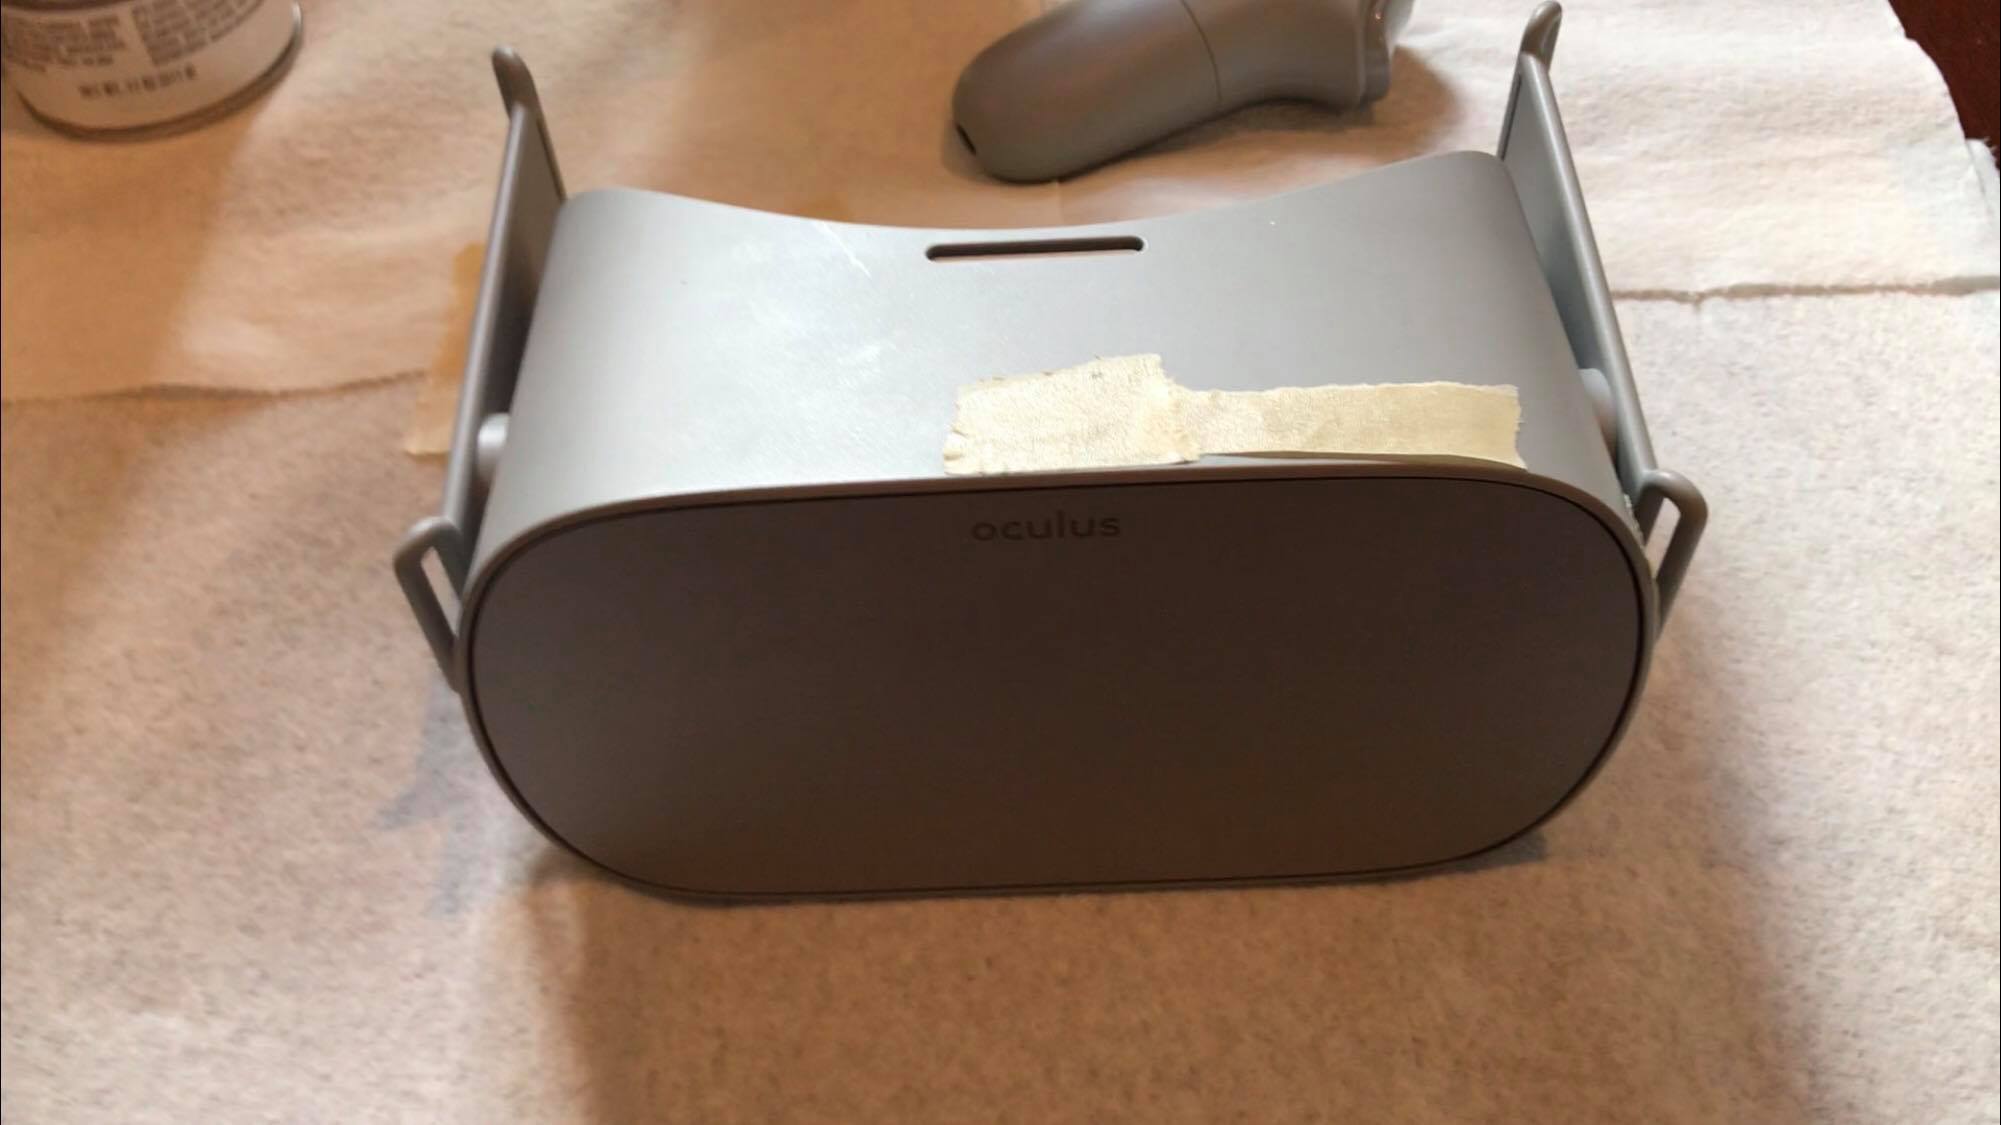
First things first, get out your tape and cut it into small sections. You'll want the pieces of tape to be large enough to go over all the buttons, holes and then some. If what you want to paint will require you getting close to the buttons make sure you're very careful.
I purposely picked a design that wouldn't go anywhere near the buttons on my headset to avoid the risk of the paint causing things to stick together or get clunky. If you trust your steady hand a lot more than I trust mine then go for it! Just be very cautious of the crevices you'll find along the rim of the face and on the bottom of your headset.
Rough drafts and the first base
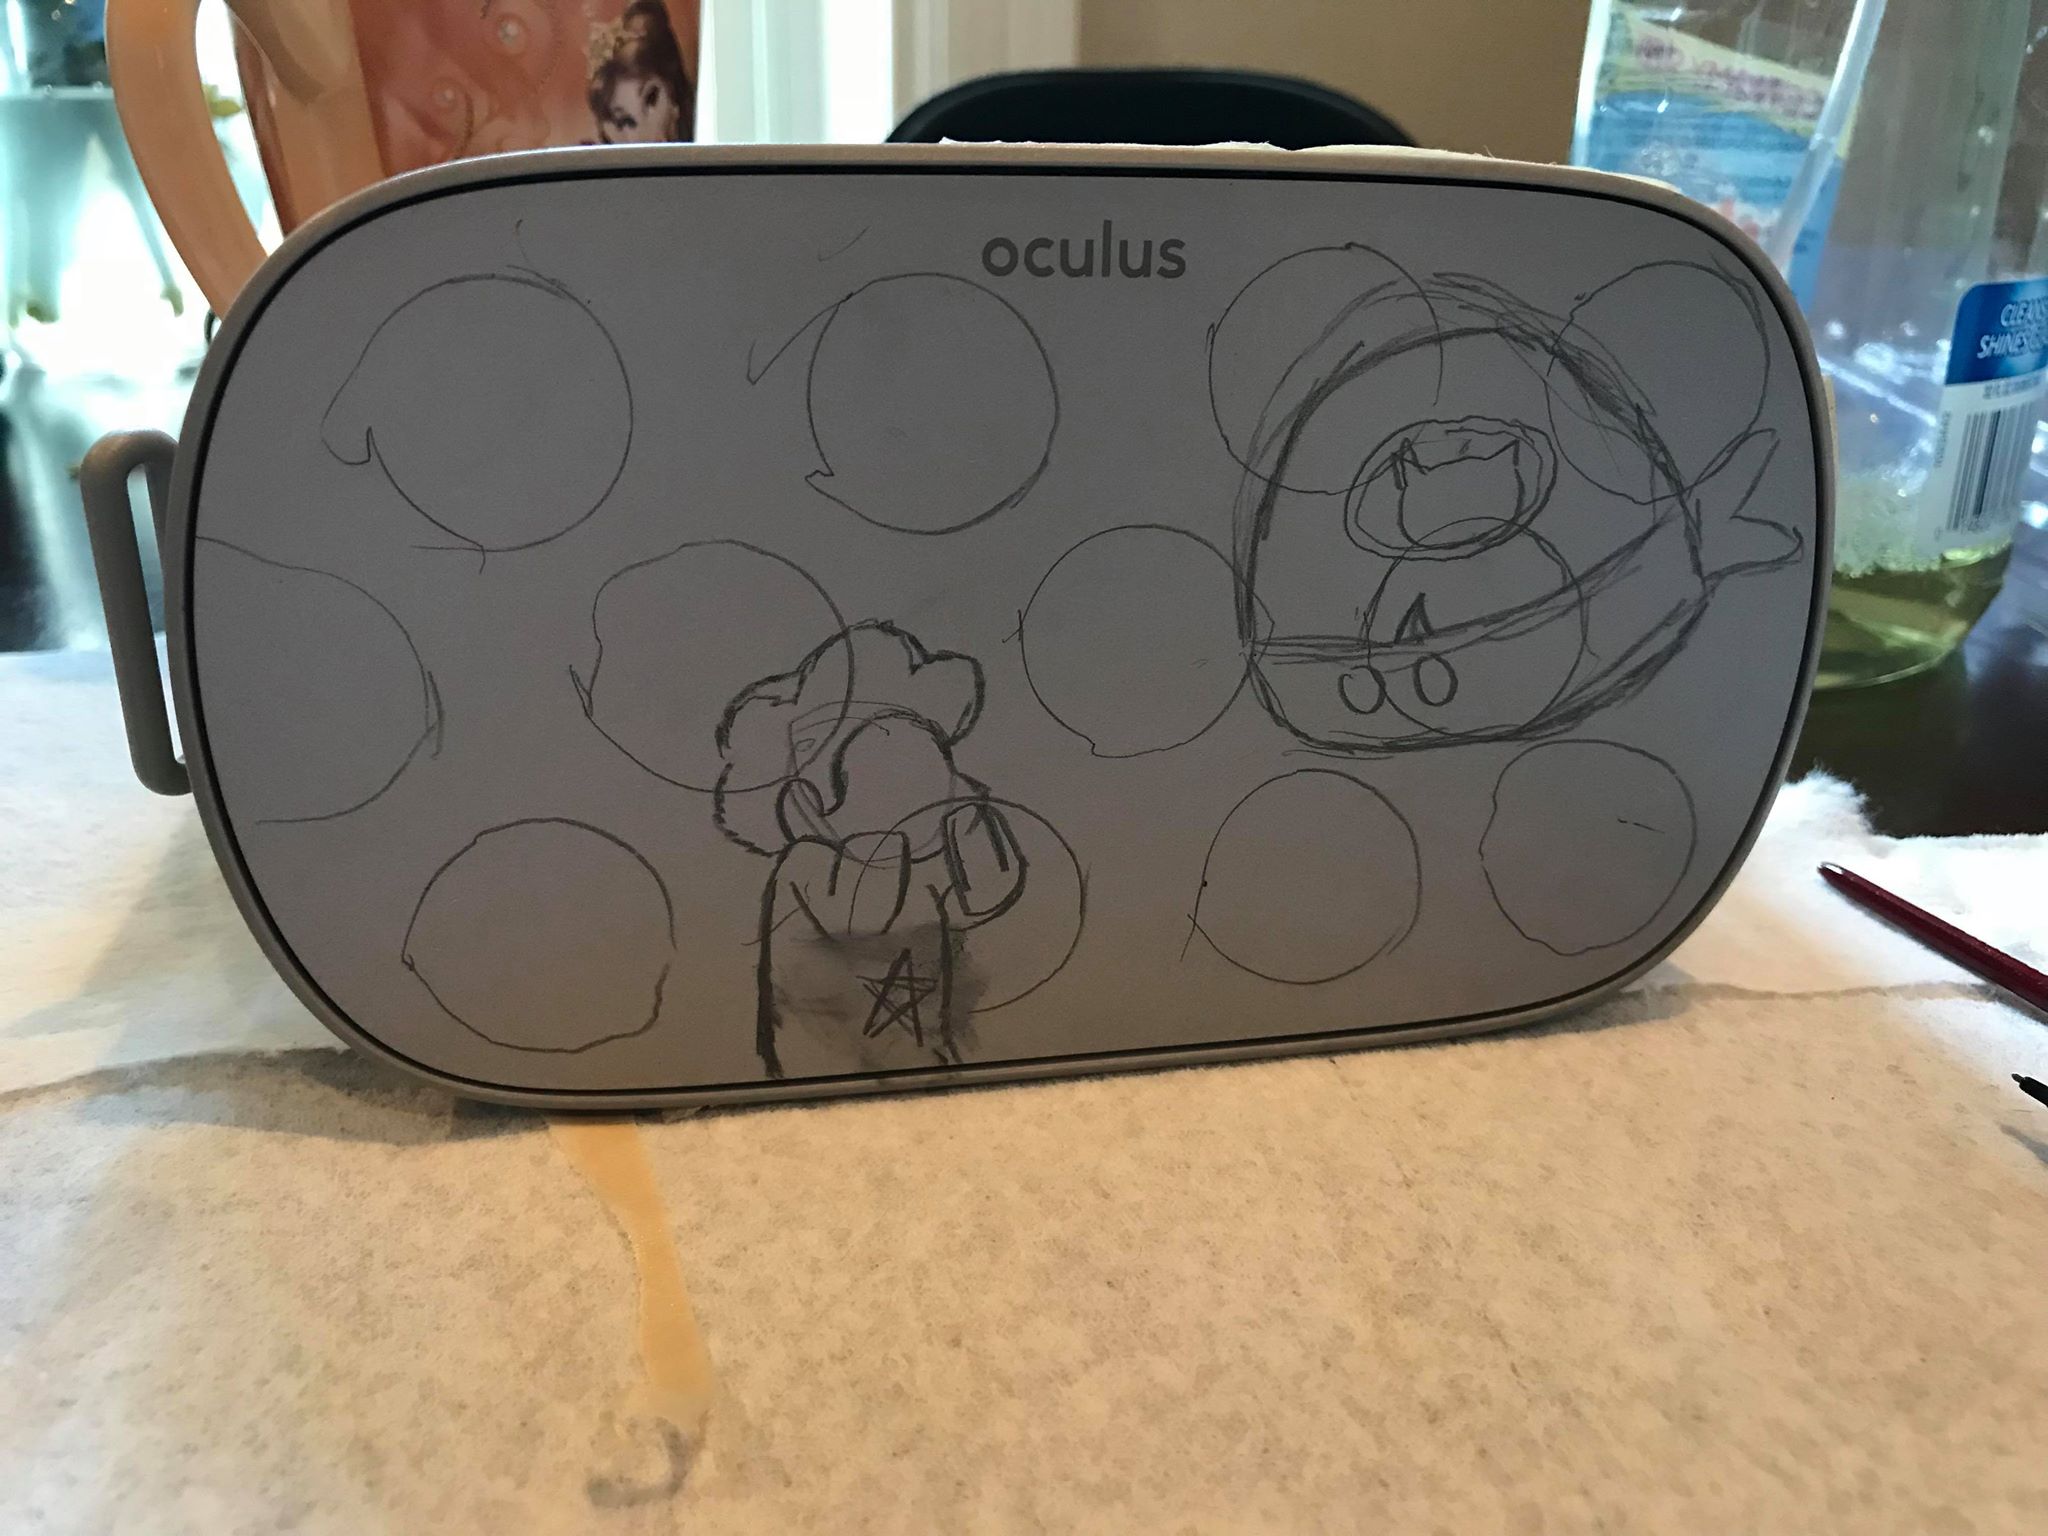
The best part about the surface of your Oculus Go is the ability to draw on it with a pencil. If you don't like how something turned out, or change your mind all-together, you can erase the entire thing with nothing more than a slightly damp paper towel.
With my project, I chose to do only a mild outline. Freehanding the Cookie Cats in the background was the best-worst decision I've ever made. Don't be like me, draw out your outline. It'll save you so much time.
Don't worry about the clunkyness. As you can see from the second image I've provided in this section, the base of my art was very lumpy, uneven and even some of my colors mixed while I was painting. Don't let it get to you. You'll need to do a second coat of your paint anyway. If you do make a serious mistake all you have to do is wrap the pointy end of your paintbrush with a paper towel, dip it into some paint thinner (if the paint has dried) and wipe it off. There are no mistakes here, only happy accidents.
Finishing the job
Once you're done with your base you should be able to go right into your second base. This paint dies wicked fast, making the whole process go pretty quick. Adding your second base will smooth out the paint and allow the colors to become more vibrant. Then all you have to go is go through and finish detailing!
When all is said and done, and you're happy with your work, get your enamel finish out. I got the spray can version of this, but I did not use the spray directly on my headset. Instead, I sprayed it into a cup and painted it on with my brush. Topcoat for nail polish might seem like a good idea, but don't do that. You need something that's safe for temperatures, and outdoor enamel paint is usually perfect for this job. All you have to do is cover the paint, not the entire headset.
Want to change the image up every few months? Skip out on sealing it with enamel. This way you can wipe off your art with paint thinner and do something else with it at a later date. Yes, this means the art will go through the usual wear and tear. But, if you like a constant change you can just use it as motivation to paint again!
Other options
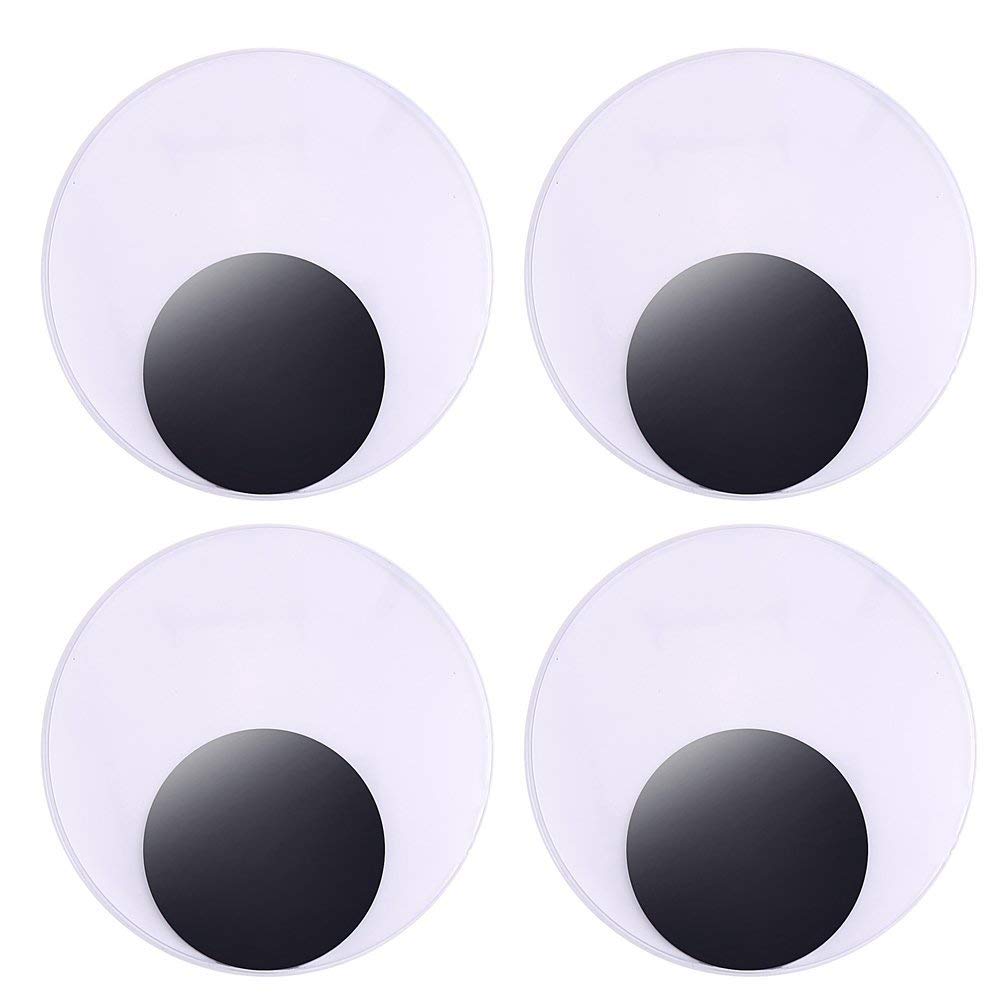
If you're not the artistic type there are more ways to customize your Oculus Go. Instead, you can try a few of these other options to spice up your VR headset life. One of my personal favorites are the hilariously silly googly eyes. With minimal effort, you can enhance your VR experience forever with constant laughter.
Googly eyes
Nothing, I repeat, nothing will make me laugh more than seeing a pair of Googly eyes on a VR headset. For $6 you can find these stickers on Amazon and have a grand ole' time with them. Get one of your friends to try out your Oculus Go with a pair of these babies on and strap them into the most physical game you can think of. The results will be endless laughter and great memories, I promise.
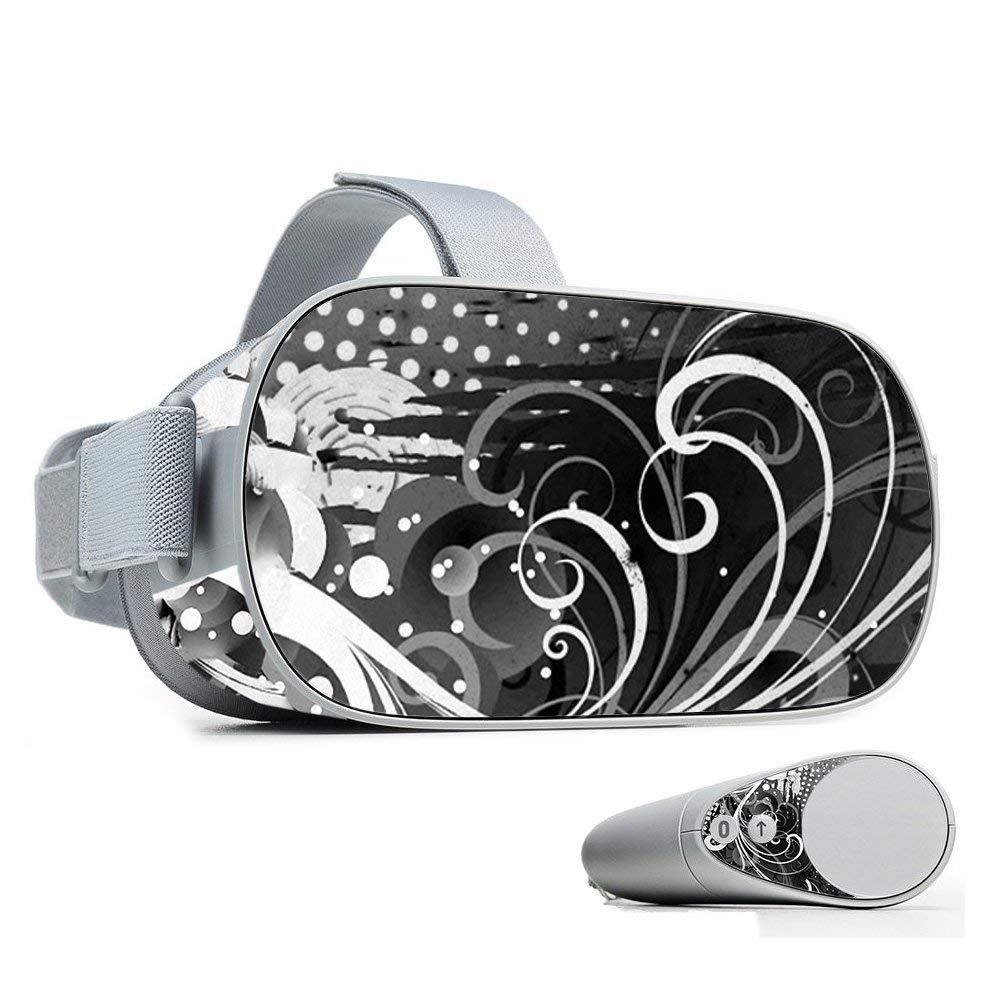
Other than that there is a decent variety of decal kits you can find online. These are a little bit of a pain to work with, but that might just be my OCD talking. I can almost never seem to get them to line up properly that I end up peeling off and sticking back on so many times it just stops working. I bet you're better at this than I am, so you should get one for yourself and test it out!
Decal kits
If googly eyes are a little too silly for you there are a few more options. Amazon is carrying decal kits for your Oculus Go and there are quite a few choices to choose from! For $15 you can grab your favorite design and turn your headset into an absolute masterpiece. (Now with half the work!)
So how did you decorate your Oculus Go?
Whether you gave it your very own paint job or found some amazing sticker decals, I wanna hear all about it! Tell me in the comment section below, or shoot me a Tweet @OriginallSluggo. What are your plans for spicing up your headset?
from Android Central - Android Forums, News, Reviews, Help and Android Wallpapers https://ift.tt/2KRsyaz
via IFTTT
No comments:
Post a Comment