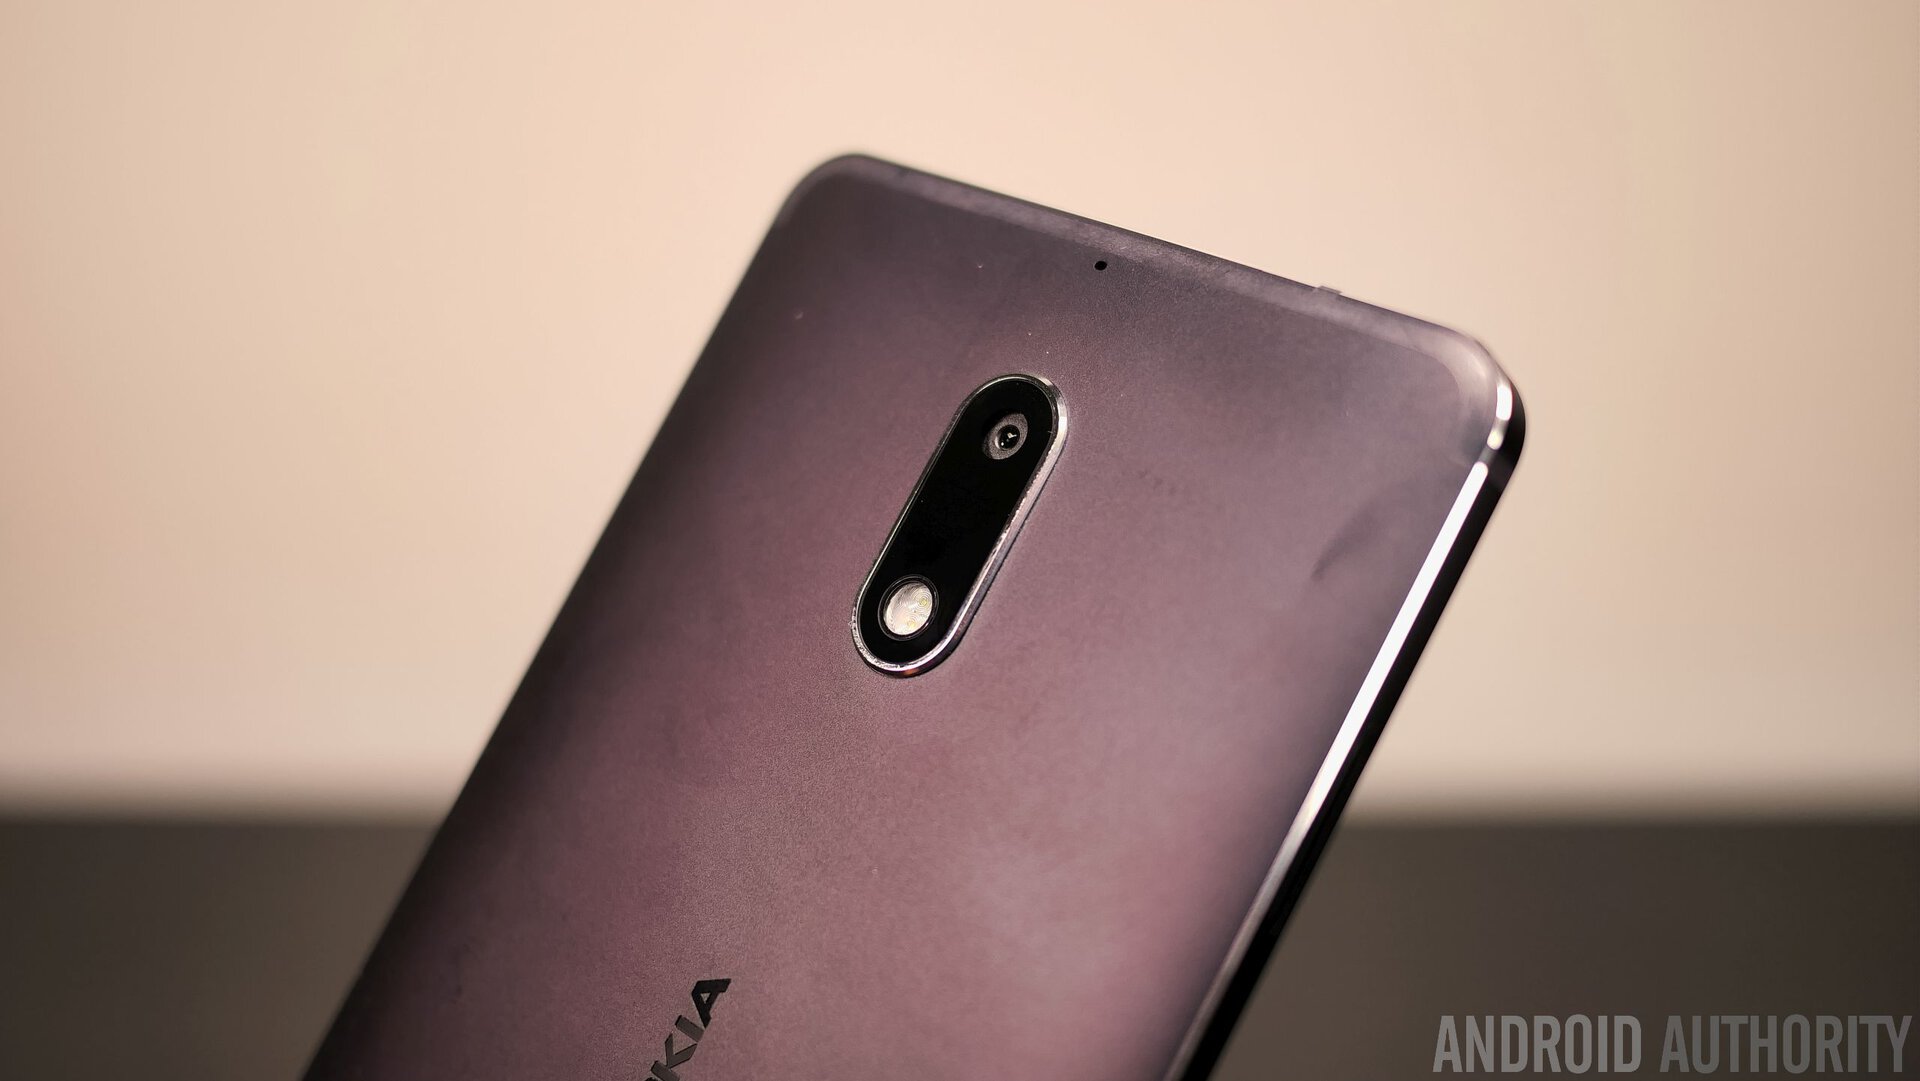
The return of the Nokia smartphone brand brought much excitement to smartphone enthusiasts around the world, but it also brought some disappointment. The disappointment stemmed from the fact that the Nokia 8 bootloader could not be unlocked.
However, HMD Global — the company which revived the Nokia smartphone brand — switched gears recently and announced that it would allow users to unlock the Nokia 8 bootloader.
The ability to unlock the Nokia 8 bootloader means that people who own the device can install custom recoveries, flash new ROMs, and access different features and settings that were previously impossible.
Unlocking a phone's bootloader might seem like a daunting task, but it's actually pretty easy if you break it down into steps. However, keep in mind that unlocking the Nokia 8 bootloader will wipe the device. It's advisable to back up any personal data you might have as well as use some sort of backup system to make a copy of your apps, settings, and other data. Read our article here on the best practices for doing this.
Once you've got your backups made, you're ready to unlock the Nokia 8 bootloader!
Basic steps to unlock Nokia 8 bootloader

To unlock your bootloader, you're going to perform the following tasks:
- Register your Nokia 8 to prove you are the rightful owner.
- Download and install ADB on your computer (Windows, Mac, or Linux).
- Connect your Nokia 8 to your computer using a high-quality USB cable.
- Flash your unlock code.
- Unlock your bootloader.
- Perform the initial setup on your Nokia 8.
If you've never done these steps before for a previous phone, we highly recommend reading this entire article before performing any of the steps. This will ensure that you won't be surprised in the middle of the process with a task you are not comfortable performing.
Step 1: Register your Nokia 8

To prevent unauthorized people from unlocking your Nokia 8 bootloader, HMD Global requires you to register your device and obtain an encrypted unlock code.
To begin this process, visit HMD Global's dedicated page for unlocking. HMD Global requires that you make an account and agree to some basic terms and conditions. The sign-up process is very self-explanatory and should only take a minute.
Once you have created an account and signed in, you'll be taken to a new page which will have instructions on how to download a special Android app specifically designed to give you an unlock code on your Nokia 8. Download the app and install it on your Nokia 8 (be sure to allow the installation of unknown apps in your device's settings).
Once installed, open the app and follow the instructions. Give HMD Global an active email address and hit "Submit."
After you hit Submit, you'll be shown a secret code. Go back to the dedicated unlocking page and enter your secret code as well as the active email address you supplied in the app.
Eventually, you will get an email that has a link to download a special TXT file called "unlock.key." Download this file to your computer and move on to the next step!
Step 2: Download and install ADB

The Android Debug Bridge (ADB) is part of the developer toolset known as the Android Software Development Kit (SDK). In simple terms, ADB is what allows you to interact with your Android device through a command prompt on your computer.
Visit the official Android developers' site to download ADB for your particular computer operating system. The site has instructions for how to install everything and get set up.
If you have never used ADB before, it's advised for you to stop here for now and get acquainted with it. The next few steps will assume you are comfortable working with ADB and command prompts. If you aren't, you'll get confused pretty quickly!
Once you've got ADB all set up and are familiar with it, be sure to enable USB debugging on your Nokia 8. If you don't know how to do that, follow these steps:
- Open up Android settings and locate your Android build number.
- Tap on the build number a number of times until you see that Developer Options has been enabled.
- Visit Developer Options in Settings and then enable USB debugging.
Once you have ADB installed, move on to the next step.
Step 3: Connect your Nokia 8 to your computer

In the previous two steps you've gotten prepared, but now it's time to actually start the unlocking process.
Before continuing, make sure that you have a high-quality USB cable with which to attach your Nokia 8 to your computer. Preferably, you should use the cable that came with the device. If that's not possible, use a short, thick cable for this process. You should absolutely avoid using cheap, thin, or long cables, as it could cause problems for your device.
To begin, put your Nokia 8 into download mode. You do this by first powering off your Nokia 8. Then, press and hold the Volume Down button, and power the device back on. If your device boots up normally (i.e., you are eventually taken to your home screen) it didn't work. Power the device off and then try again. Just make sure you keep holding down the Volume Down key.
Once you're in Download Mode, hook your Nokia 8 to your computer using the USB cable. Move to the next step.
Step 4: Flash your unlock code

Remember the "unlock.key" file you downloaded in the first step? You're going to need that! Find that file and move it into the same folder where you installed ADB. On Windows, for example, that would be %USERPROFILE%\adb-fastboot\platform-tools.
Launch a command prompt within the ADB folder and type the following command:
adb devices
You should see something that looks like the screenshot above, with a serial number and then the word "device" next to it. If you don't, that means your computer doesn't recognize your Nokia 8, your command prompt is not in the right folder, or you missed something in the previous steps.
Once you know your device is connected correctly, you'll flash the unlock.key file using the following command:
fastboot flash unlock unlock.key
Once you've successfully flashed the unlock key, move on to the next step.
Step 5: Unlock the Nokia 8 bootloader

Up until this point, everything you've done is reversible or has no effect on your Nokia 8. But this next step is the point of no return — once you perform this step, there is no turning back! Your Nokia 8 will have an unlocked bootloader and your device will be wiped.
If you are having second thoughts, now is the time to turn back. Just unplug your phone and restart it, everything will be as you left it.
If you are ready to unlock your bootloader, then perform this final step by typing the following into your command prompt:
fastboot oem unlock
Assuming everything was performed correctly, you should see text appear in your command prompt that says "Unlock success!" You have an unlocked bootloader!
Before doing anything else, you'll want to restart your device, but not with the power button. Instead, use the command prompt:
fastboot reboot
Your device will reboot.
Step 6: Set up your Nokia 8
When your Nokia 8 reboots, it will have been factory reset, so it will be like you just took the phone out of the box. You'll have to agree to Google's terms, log into your Google account, etc., just like you did originally.
Once you get everything set up, your device will be ready for flashing custom ROMs, custom recoveries, etc. To get started with that, we recommend you check out our beginner's guide to flashing LineageOS. Although you might not want LineageOS on your Nokia 8, the guide applies to any custom ROM and will be very helpful if this is your first time.
Did this guide help you unlock your Nokia 8? Let us know in the comments!
NEXT: Beginner's guide to installing LineageOS on your Android device
from Android Authority https://ift.tt/2QeTfJm
via IFTTT


No comments:
Post a Comment